lifestyle
Dishwasher Maintenance Tips for a Spring Kitchen Refresh
Spring invites us to look more closely at what we've accumulated, what deserves our care, and what quietly sustains the rhythm of daily life. The dishwasher rarely demands attention, and yet it works harder than almost any appliance in the home. A little seasonal attention now pays dividends in performance, longevity, and the quiet satisfaction of a kitchen that truly functions beautifully.
at a glance


01
Begin With the Filter
The filter is the unsung foundation of every clean cycle. Filters are located at the base of the wash chamber, typically beneath the lower spray arm. They catch food particles, mineral sediment, and debris before they can recirculate onto your dishes. Over the course of a winter's worth of dinner parties and daily cooking, it accumulates more than you might expect.
Remove the filter by twisting counterclockwise, then separate the cylindrical mesh from the flat screen beneath it. Rinse both components under warm running water and use a soft-bristled brush—an old toothbrush works perfectly—to dislodge any stubborn buildup caught in the mesh. If you notice a film of grease or a faintly unpleasant odor, a ten-minute soak in warm soapy water will remedy this.
Reassemble and lock it back into place before your next cycle. It takes five minutes, but the improvement in washing performance is immediately noticeable.
02
Descale for Peak Performance
Hard water is one of the most common and least discussed culprits behind a dishwasher that simply stops performing well. The calcium and magnesium deposits it leaves behind—known as limescale—coat the heating element, clog the spray arms, and leave a chalky haze on glassware that no amount of rinsing will fix.
A spring descaling cycle is one of the most impactful things you can do for your machine. Place a cup of white distilled vinegar in a dishwasher-safe container on the upper rack and run a hot cycle with an otherwise empty machine. The vinegar’s acetic acid works to dissolve mineral buildup throughout the interior. Follow with a short cycle using a tablespoon of baking soda scattered across the bottom. This neutralizes residual odors and lifts any remaining staining from the interior walls.
If you live in an area with particularly hard water, consider this a bi-yearly ritual rather than an annual one.

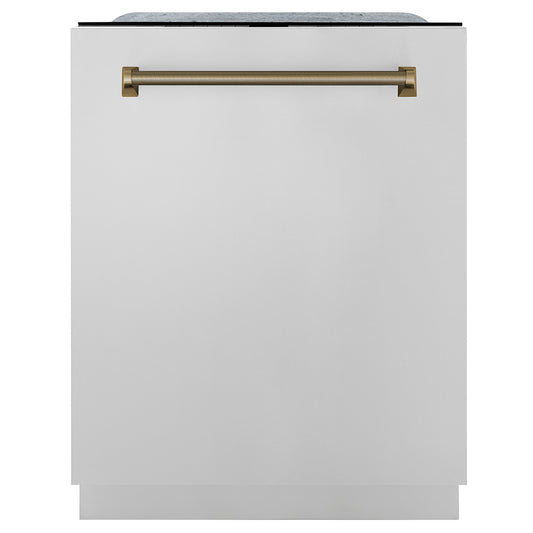
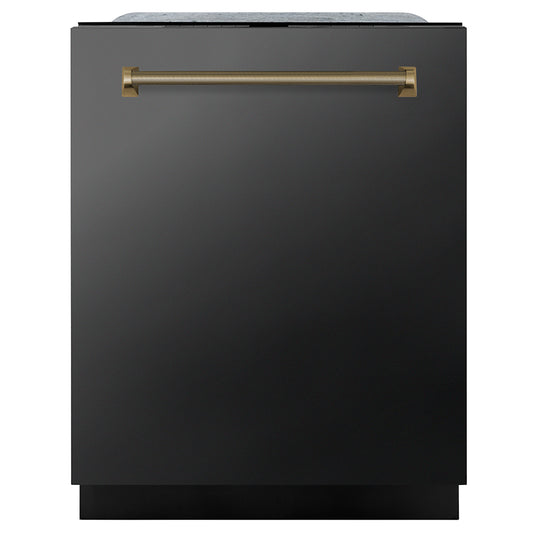
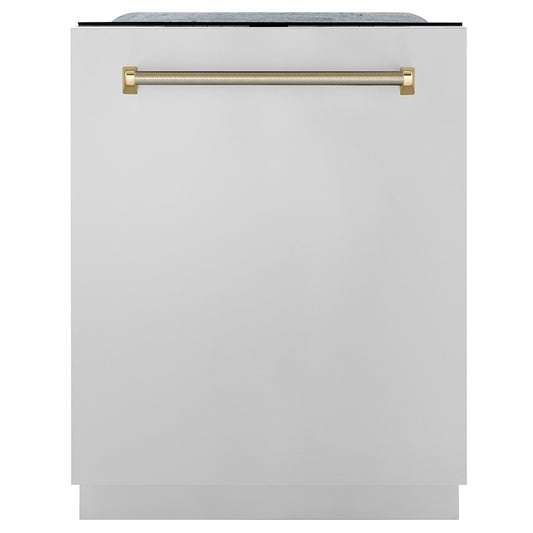
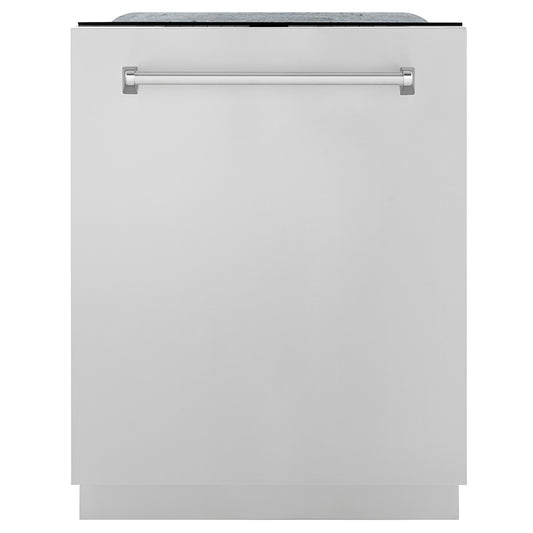
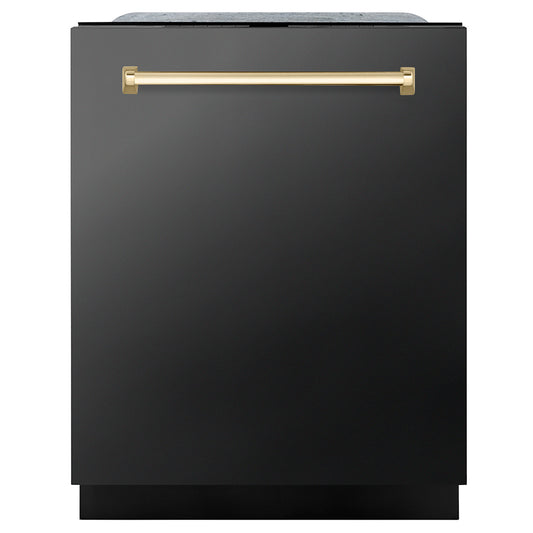
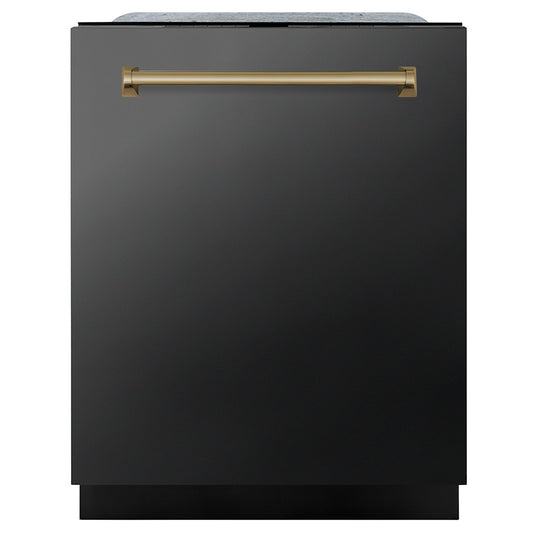
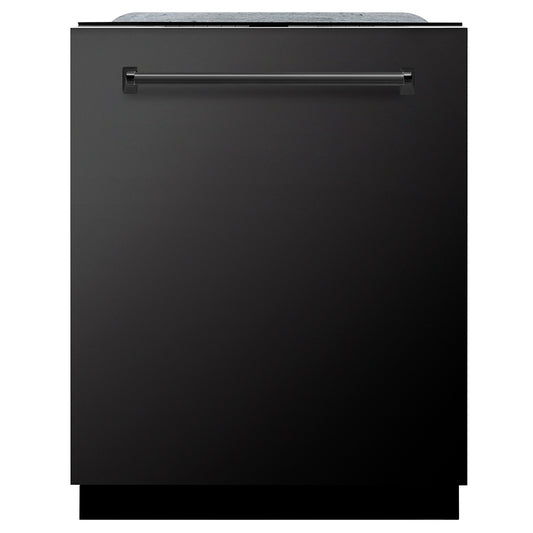
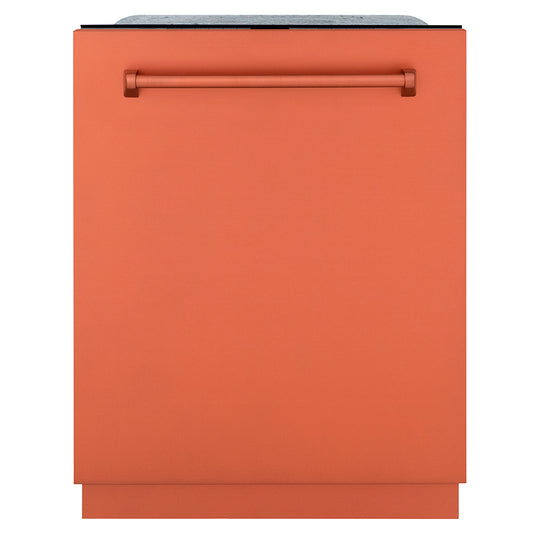
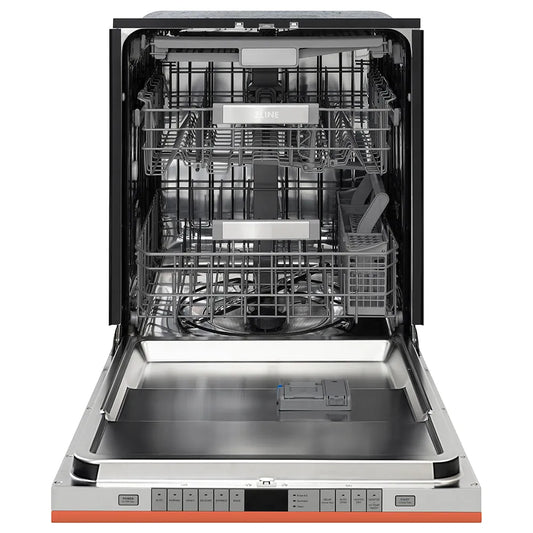
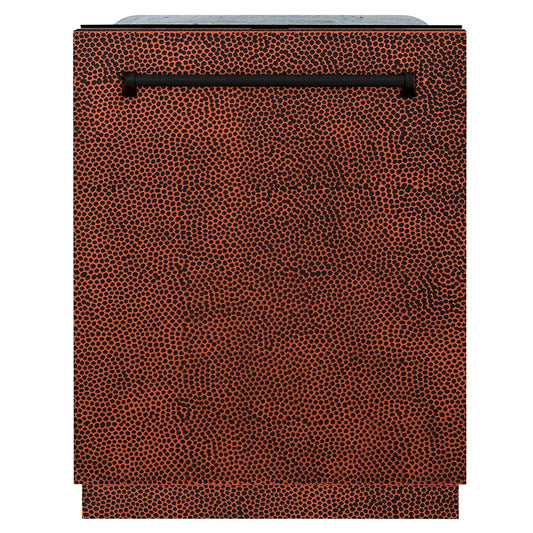
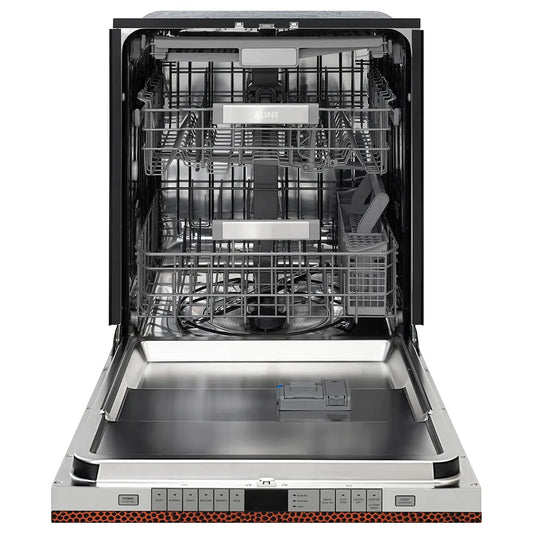
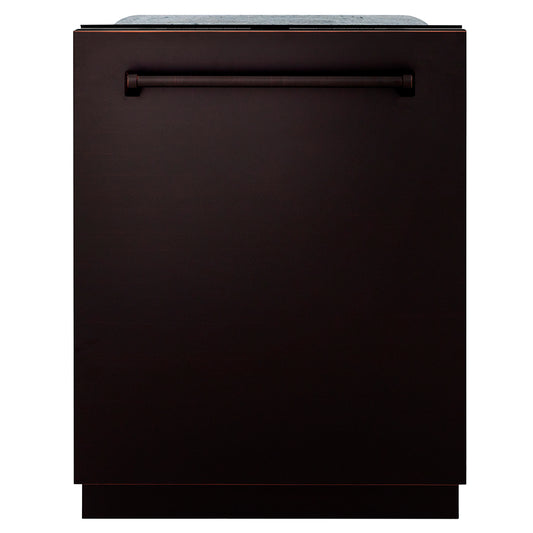
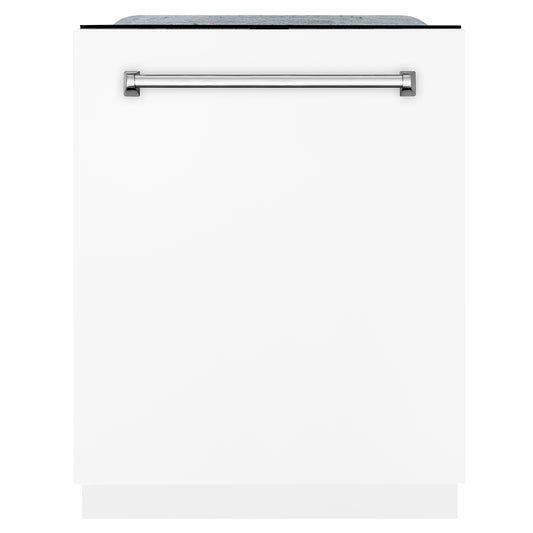
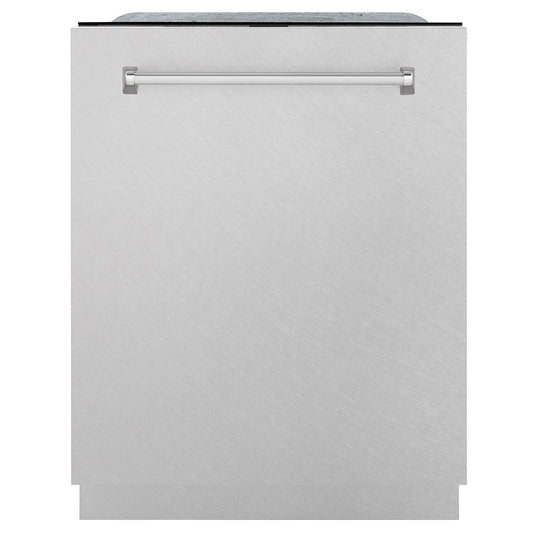
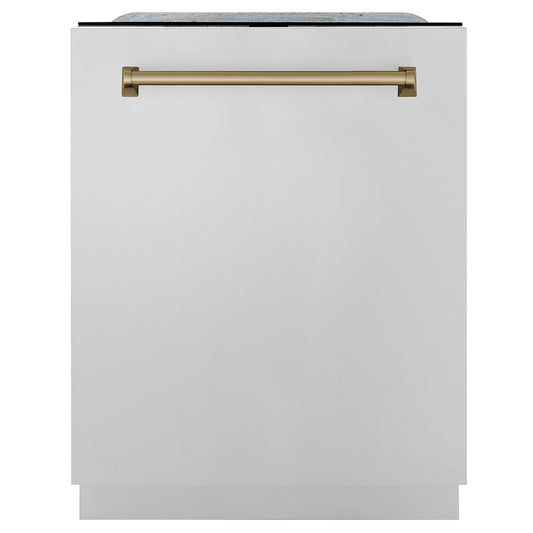
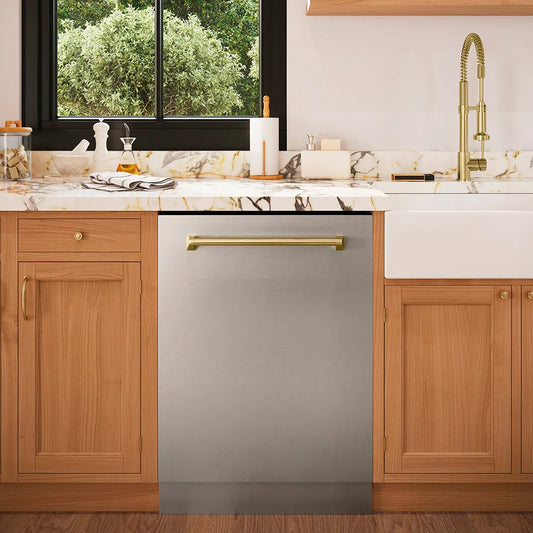
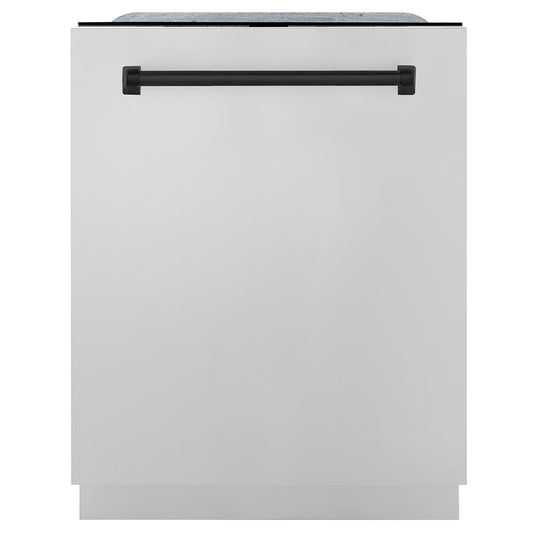
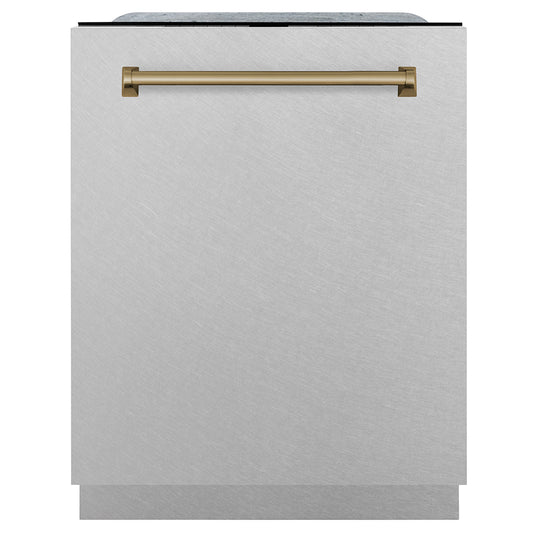
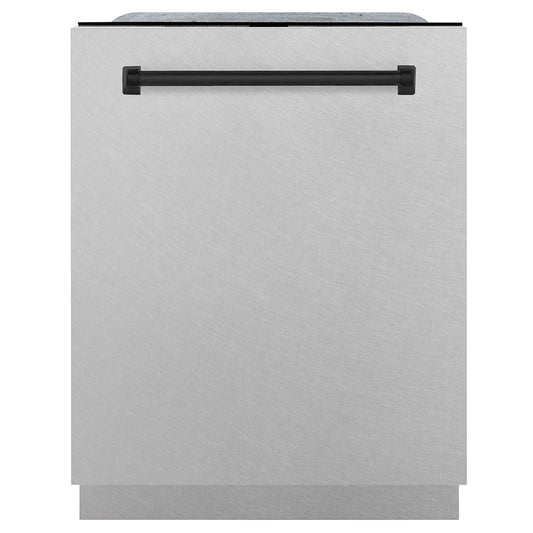
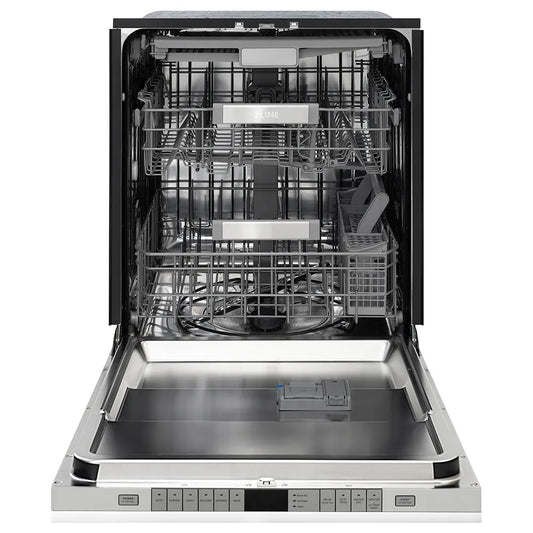
If you've invested in a well-designed dishwasher, these maintenance habits matter even more. ZLINE Dishwashers are built with a stainless steel tub, quiet wash cycles, multiple wash modes, and are ENERGY STAR certified. High-performance machines reward attentive care with years of reliability and continued efficiency.

03
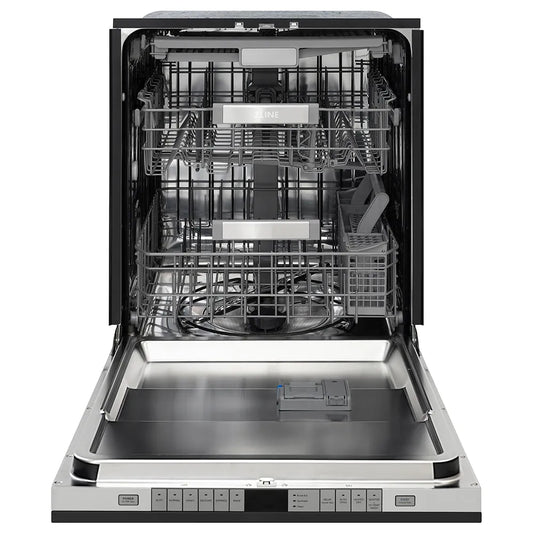
The Spray Arms and Water Flow
If removable, take the spray arms off entirely (typically unscrew or unclip with minimal effort) and hold them up to the light. Each small nozzle hole should be perfectly clear. Rinse the arms thoroughly, then reinstall them, ensuring each one rotates freely before closing the door. Restricted spin is one of the most common causes of inconsistent cleaning. Dishes at the back wash well while those at the front come out with residue. This simple inspection prevents that entirely.
CHECKLIST:
- Check spray holes periodically
- Remove visible debris carefully
- Rinse spray arms if removable
- Confirm spray arms rotate freely after cleaning
04
Gaskets, Edges, and the Details That Matter
The door gasket is one of the most overlooked areas of dishwasher maintenance. It flexes with every cycle, trapping moisture, food debris, and eventually mold in its folds. A brief inspection and wipe-down each season keeps it supple, hygienic, and leak-free.
Use a damp cloth with a small amount of dish soap and work your way along the full perimeter of the seal, pressing gently into any folds or channels. If you notice any cracking or loss of elasticity, this is an early warning that replacement may be needed. Catching it now is far preferable to addressing a leak mid-cycle.
Don't neglect the door edges, the soap dispenser tray, and the space around the latch mechanism. These areas collect residue and, left unattended, contribute to that subtle odor that is so common in kitchen appliances and so easily avoided.
SPRING CLEANING TIP
05
Your Ongoing Maintenance Schedule
The most effective approach to appliance care isn't a single annual deep clean. Spread the workload into a series of small, consistent habits that take little time individually but add up to remarkable results. Below is a rhythm worth adopting.
Running a maintenance wash cycle of nothing but hot water and a cup of white vinegar once a month will dramatically reduce mineral buildup, extend the life of your heating element, and ensure your glassware dries with zero haze.


06
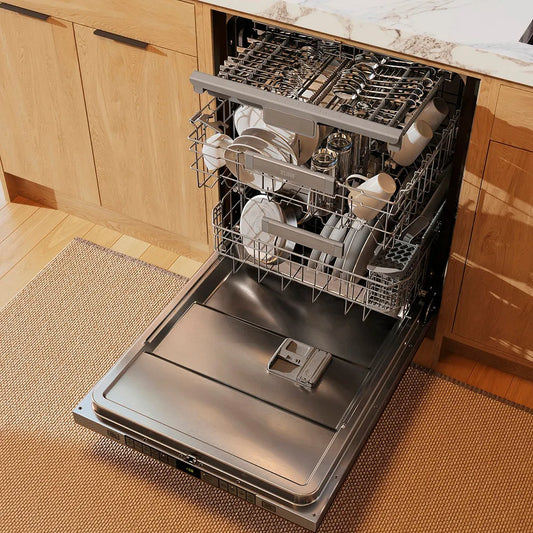
Loading With Intention
Technique matters as much as maintenance. The way dishes are loaded affects cleaning performance more than most people realize. Heavily soiled items belong on the lower rack, facing the center, toward the most direct spray. Glasses and delicate items go on the upper rack, angled slightly to allow water to drain properly rather than pool.
Avoid nesting items such as bowls stacked inside one another or spoons cupped together in the cutlery basket. Water and detergent cannot reach nested surfaces. Leave a finger's width of space between items wherever possible. It feels counterintuitive when you're trying to fit a full load, but the result is reliably cleaner dishes and fewer rewashes.
Opposed to the common misconception, scrape your dishes rather than pre-rinsing. Modern dishwashers are engineered to handle food residue, and pre-rinsing removes the soils that the detergent enzymes are designed to break down. A quick scrape into the bin is all that's needed.