Lifestyle

How to Build a Beverage Station at Home

Every host knows the pattern. Guests arrive, someone asks for a drink, and the kitchen turns into a crossroads. The refrigerator door swings open and shut, someone searches the freezer for ice, and someone else waits at the sink to rinse a glass while dinner is being plated two feet away.

A home beverage station solves that by giving drinks a place of their own. It pulls refreshments out of the cooking zone, lets guests serve themselves, and gives the room a natural gathering point that isn't the stove. Done well, it is not just an add-on but a natural part of the house.

Here's how to plan one, step by step.

01

Pick Your Spot

Start with where people actually go. The best beverage stations sit just outside the main work triangle. They're close enough to the kitchen to share plumbing and stay convenient, and far enough away that guests can grab a drink without crossing paths with the cook.

A few locations tend to work especially well:

  • The end of a kitchen run or island: where guests can reach it without stepping into the prep zone.
  • A butler's pantry or hallway niche: between the kitchen and dining room, which keeps the station close to the table.
  • The family room, media room, or basement: wherever the evening tends to settle after dinner.
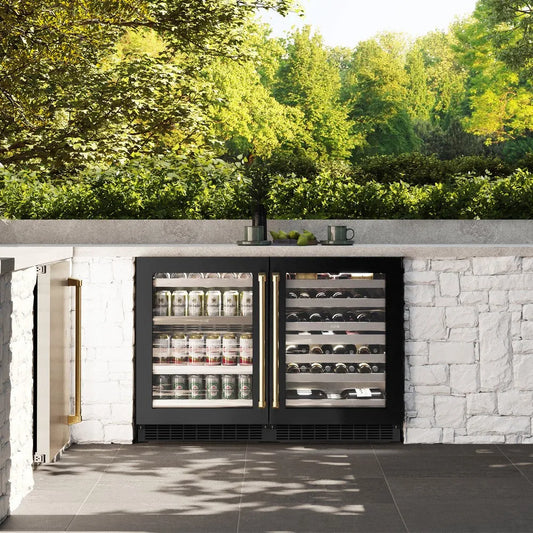
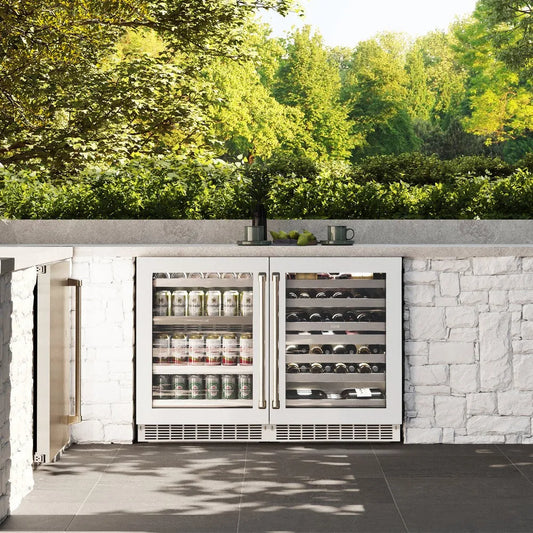
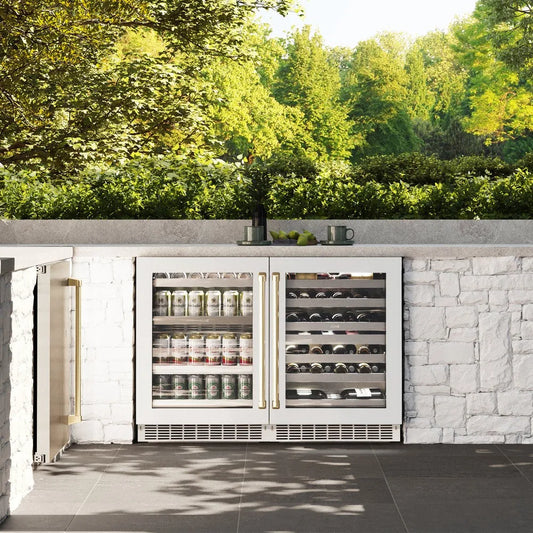
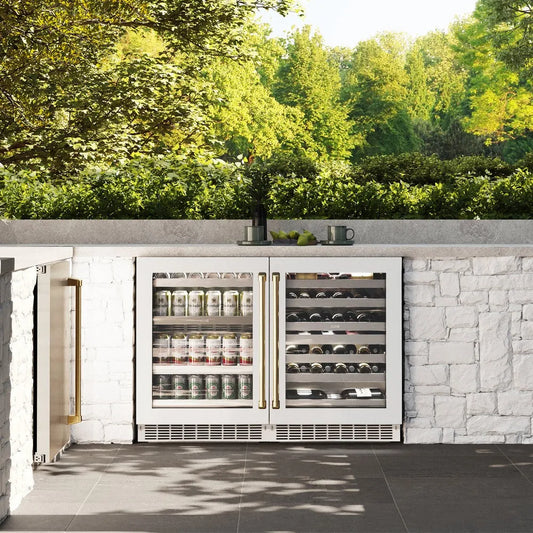
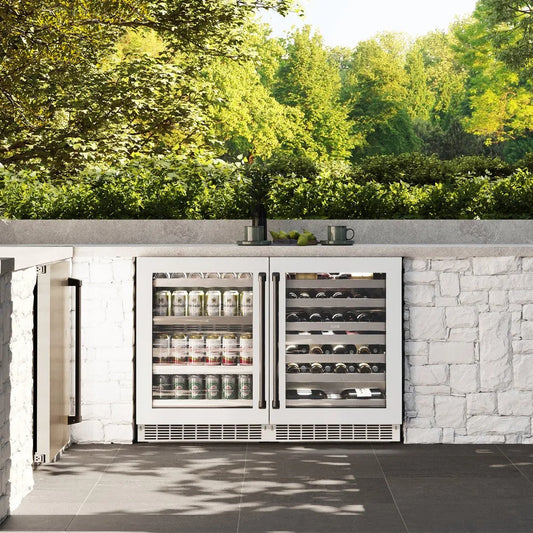
  • An outdoor kitchen or covered patio: for households that entertain outside for much of the year.

Before you commit, measure the area you have available. Most undercounter appliances are built to standard 15- and 24-inch widths. That means a modest six- or seven-foot wall can hold a complete station: refrigeration, ice, and a small sink, with counter space to work on above.
How_to_Build_a_Beverage_Station_at_Home_Blog-ZLINE-Lifestyle-2

02

Start With a Beverage Fridge

The beverage fridge is the anchor of the station. It's also the piece that does the most to take pressure off your main refrigerator. Sparkling water, sodas, beer, juice, and mixers all move out of the kitchen. That frees up shelf space for food and stops guests from opening the refrigerator you're cooking out of.

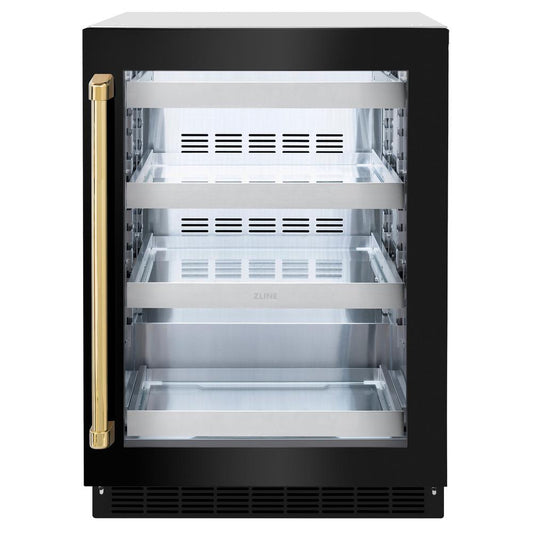
Look for a unit with adjustable shelving, so the layout can shift between tall bottles and stacked cans. Choose a glass door if you'd like the contents on display. Interior lighting matters more than it sounds: a well-lit fridge makes a station look stocked and inviting, even at night.

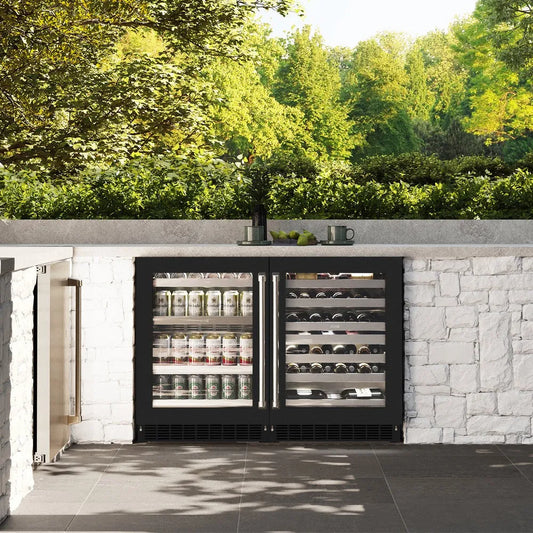
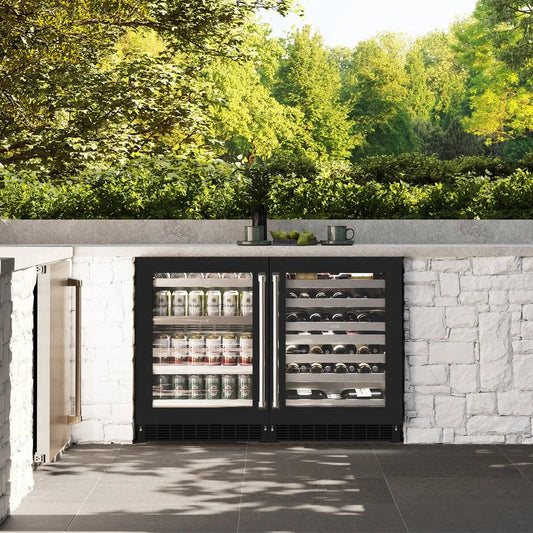
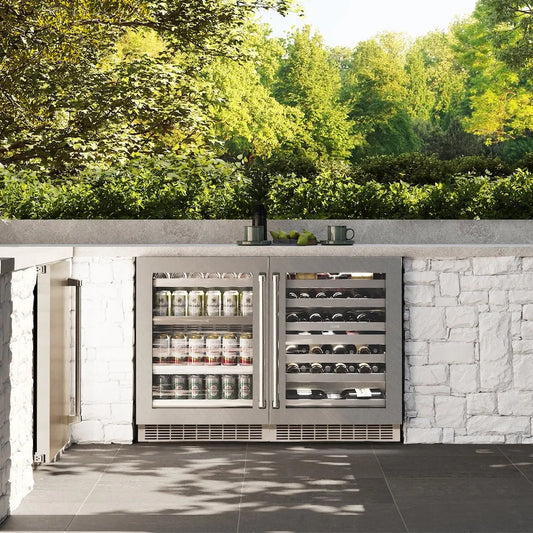
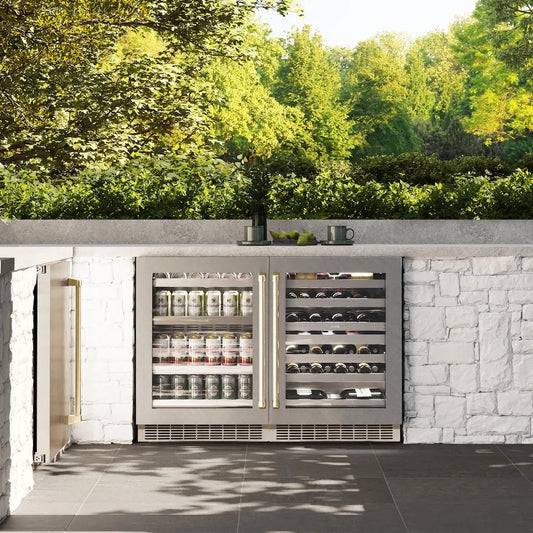
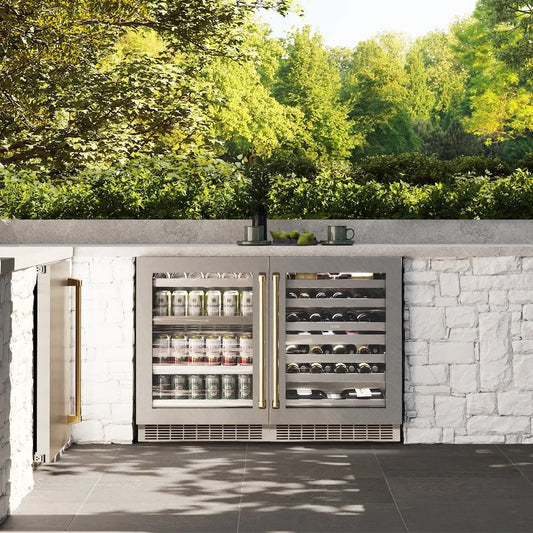
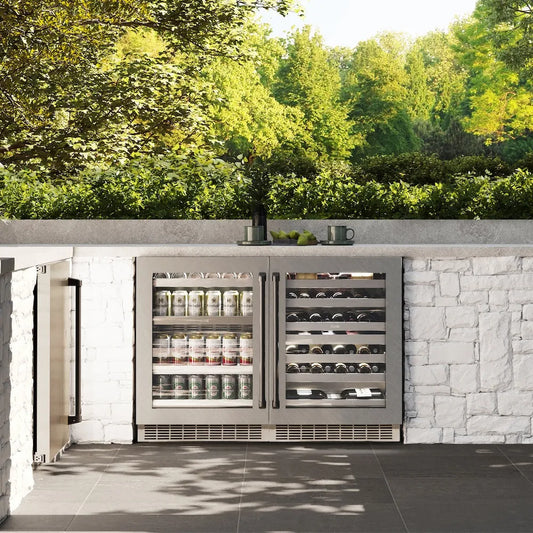
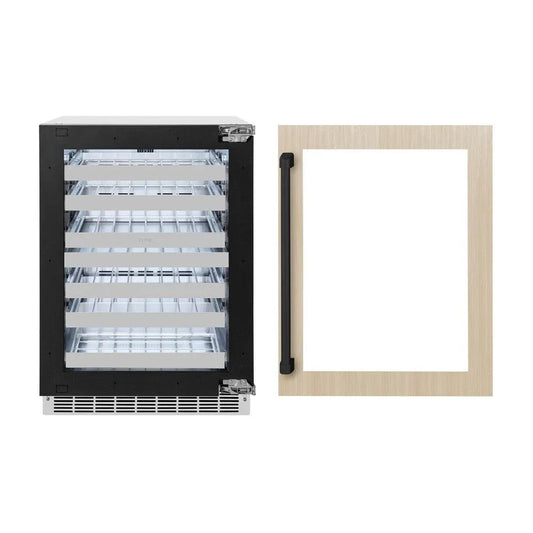
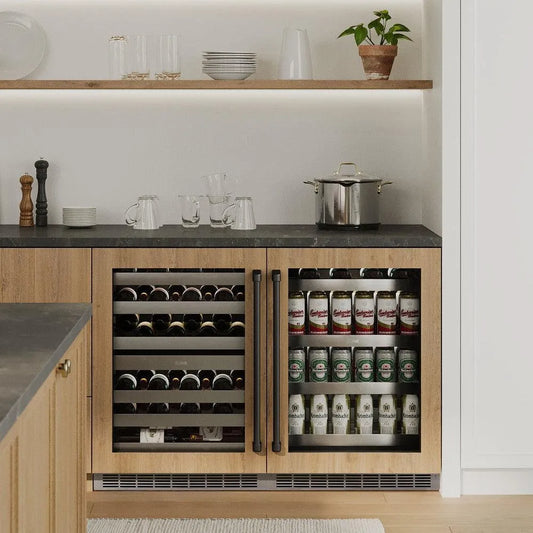
ZLINE's Touchstone beverage fridges hold up to 151 cans or 103 bottles in a 24-inch footprint, with a temperature range of 34°F to 65°F. They also have an outdoor-compatible cooling system, so the same fridge works whether your station lives in the kitchen or on the patio.
How_to_Build_a_Beverage_Station_at_Home_Blog-ZLINE-Lifestyle-3
How_to_Build_a_Beverage_Station_at_Home_Blog-ZLINE-Lifestyle-4
How_to_Build_a_Beverage_Station_at_Home_Blog-ZLINE-Lifestyle-5
How_to_Build_a_Beverage_Station_at_Home_Blog-ZLINE-Lifestyle-3
How_to_Build_a_Beverage_Station_at_Home_Blog-ZLINE-Lifestyle-4
How_to_Build_a_Beverage_Station_at_Home_Blog-ZLINE-Lifestyle-5

03

Add a Wine Cooler

Wine is the one beverage in the house that genuinely cares about temperature. A bottle stored near the range or on top of the refrigerator warms and cools with the room every day, and over months that temperature swing flattens the flavor.

Serving temperature makes a visible difference too, even for bottles you'll open next weekend. A white poured straight from a refrigerator that is set to cool meats tastes muted. A red poured at room temperature can taste heavy and alcoholic.

A dual-zone wine cooler solves both problems at once. Keep whites, rosés, and sparkling wines in the colder zone and reds in the warmer one. Every bottle is then ready to pour as soon as someone asks.

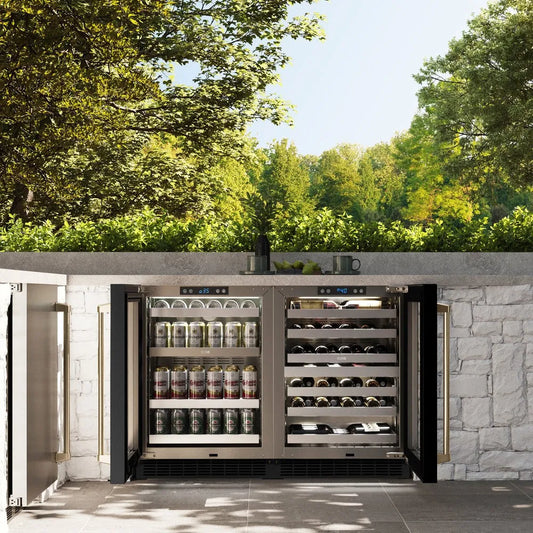
The Touchstone dual zone wine cooler holds 44 bottles on six full-extension racks, with two independently controlled zones spanning 40°F to 65°F. Full-extension racks are the detail you'll appreciate most, because you can read labels and reach the back row without disturbing the front.

04

Plan for an Ice Maker

Ice is the thing a party runs out of first. Freezer trays can't keep up with an evening of drinks, and a bag from the store melts into a single block in the cooler by the second round.

A dedicated undercounter ice maker keeps a full bin ready all night. It also changes the quality of what goes in the glass:

  • Clear Cube: frozen slowly enough to push out air and impurities. This is the all-purpose choice. They're dense and uniform, and they suit everything from iced tea to a stirred cocktail.
  • Gourmet Cube: Designed with a flat-brimmed octagonal shape, ensuring slower melting rates. These cubes won’t cluster together or dilute your cocktails.
  • Nugget Ice: Chewable ice pieces with a soft, porous texture to absorb the flavors of your favorite drink. Best suited for the spirit and soda drinkers.
Ice_Maker_Launch_Blog-ZLINE-What_s_New-3

05

Include a Bar Sink and Faucet

A sink is what separates a beverage station from a beverage shelf. It lets you rinse glasses between pours, fill a pitcher, wash citrus, dump the last of the ice, and wipe down a sticky jigger, all without carrying anything back to the kitchen.

A compact bar sink is all you need. Fifteen inches is the standard size, and a deep basin is worth prioritizing over a wide one. It keeps splashing contained and gives you room to rinse a tall glass or a cocktail shaker. There are two mounting styles to choose from:

  • Topmount sinks: install easily into most counters.
  • Undermount sinks: sit below the counter surface for a cleaner line and easier wipe-downs.

Pair the sink with a faucet scaled to it, since a tall, arching spout will overwhelm a small basin. ZLINE's sinks come in 15-inch topmount and undermount styles, backed by a limited lifetime warranty. The Palisades drink faucet offers a 360° swivel spout in Champagne Bronze, Matte Black, or Brushed Nickel.

06

Plan Your Power and Water

This is the step that's easiest to overlook and most expensive to fix later. Plan your utilities before the cabinetry is built.

Water: The sink needs hot and cold supply lines and a drain. The ice maker needs a cold water supply line of its own. If your station is close to the kitchen, you may be able to tap into existing plumbing. If it's in another room, budget for new lines.

Drainage: Ice makers produce meltwater, and it needs somewhere to go. If there's no floor drain nearby, choose a model with a built-in drain pump. It pushes water up and out to the nearest drain line, including the sink's. ZLINE's Touchstone ice makers are available with drain pumps for exactly this reason.

Power: Every appliance at the station needs an outlet. Confirm the electrical requirements on each spec sheet early. Ask your electrician whether the ice maker should be on its own circuit.

Ventilation: Undercounter appliances designed for built-in installation vent from the front, which is what allows them to sit flush with cabinetry. Check each unit's installation guide for required clearances before finalizing the cutouts.

Bring your contractor, plumber, and cabinetmaker into the same conversation before anything is ordered. A station that's planned on paper installs cleanly. One that's improvised usually ends with an extension cord.
How_to_Build_a_Beverage_Station_at_Home_Blog-ZLINE-Lifestyle-6

07

Match Your Finishes

A beverage station looks best when it reads as one piece of design rather than three appliances that happen to sit side by side. That means choosing finishes deliberately.

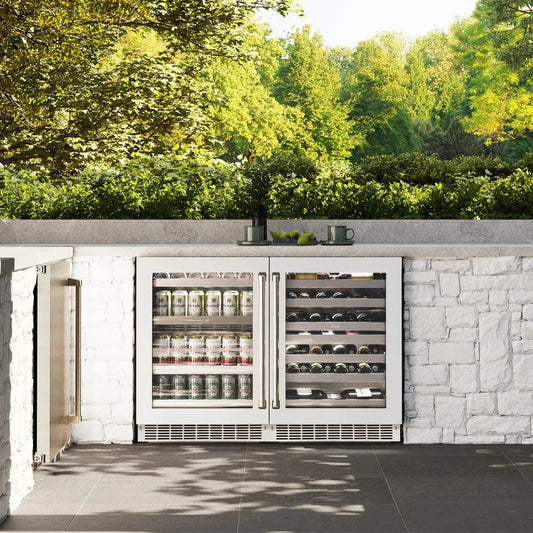
Classic stainless steel gives the station a professional, restaurant-bar presence. It pairs naturally with a stainless range and hood.

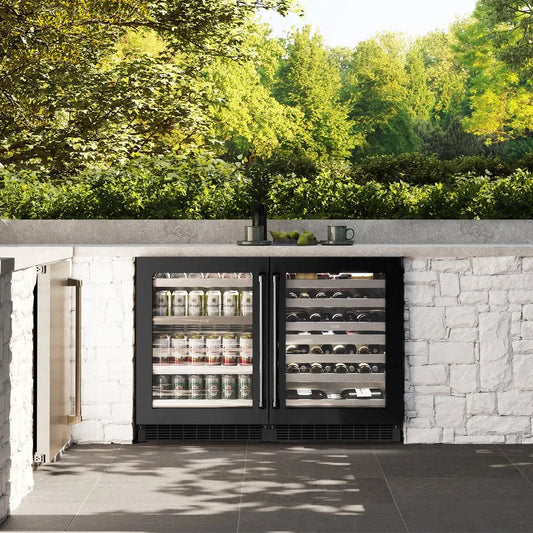
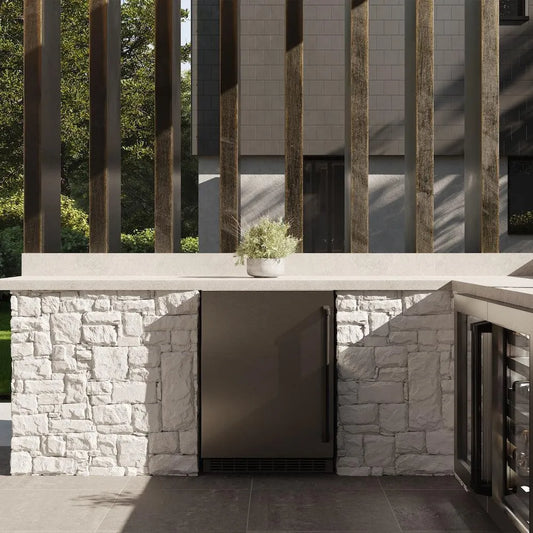
Black stainless steel and glass doors feel more like furniture. They're darker and moodier, and well suited to a media room, lounge, or bar.

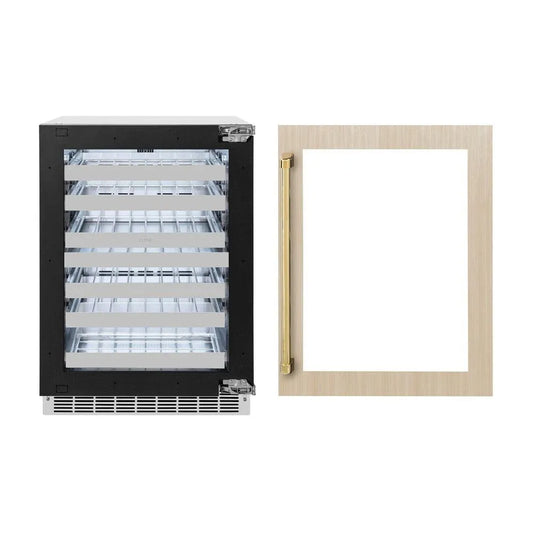
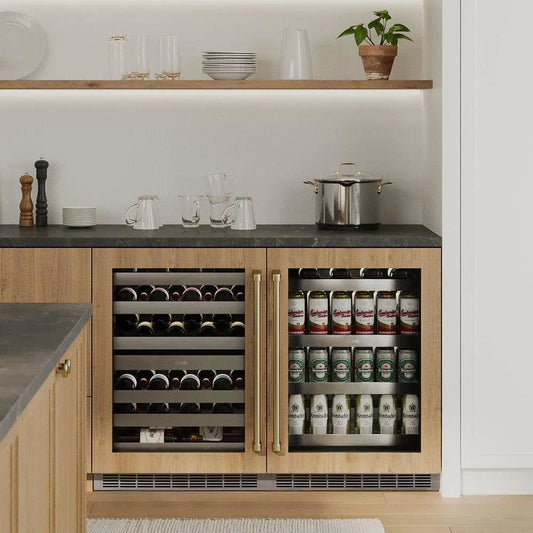
Panel-ready appliances accept custom cabinet fronts, so the fridge and ice maker disappear into the surrounding millwork. This is the most integrated look, and the one that makes a station feel built into the architecture of the home. Panels are made to your cabinetmaker's specifications and ordered separately, so plan their timeline alongside appliance delivery.

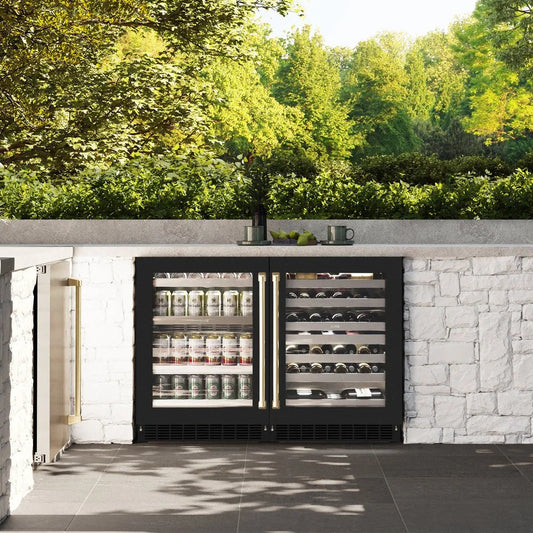
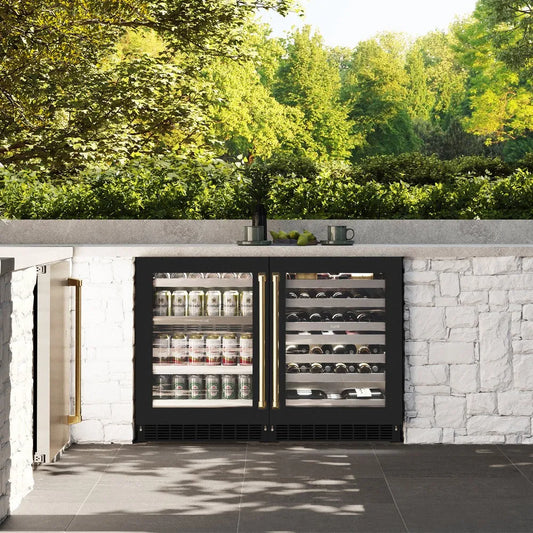
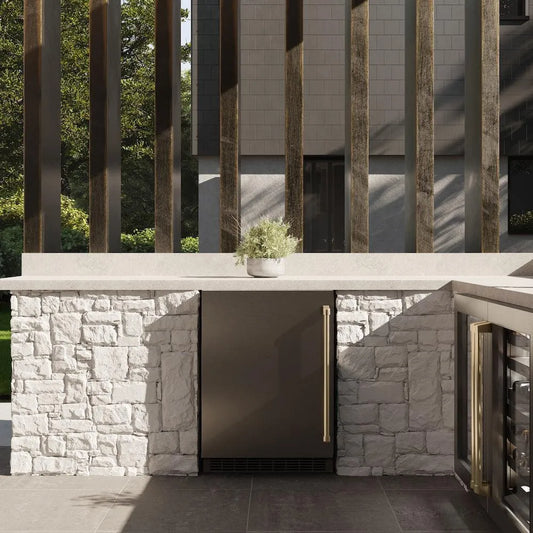
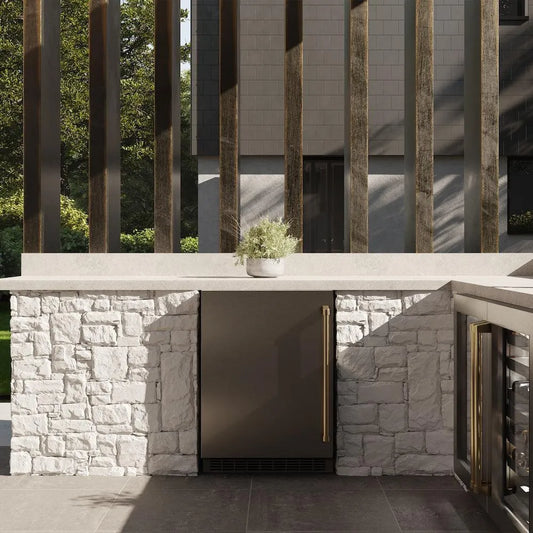
For a finishing detail, ZLINE's Autograph Edition hardware adds handles in Champagne Bronze, Polished Gold, or Matte Black across the appliances. Matching those handles to your faucet finish ties the whole station together. It's a small decision that makes the run look intentionally designed.
How_to_Build_a_Beverage_Station_at_Home_Blog-ZLINE-Lifestyle-8
How_to_Build_a_Beverage_Station_at_Home_Blog-ZLINE-Lifestyle-9
How_to_Build_a_Beverage_Station_at_Home_Blog-ZLINE-Lifestyle-7
How_to_Build_a_Beverage_Station_at_Home_Blog-ZLINE-Lifestyle-8
How_to_Build_a_Beverage_Station_at_Home_Blog-ZLINE-Lifestyle-9
How_to_Build_a_Beverage_Station_at_Home_Blog-ZLINE-Lifestyle-7_10e1587c-c516-4f65-9545-f8ead5049148

08

Style the Shelves

The appliances do the work. The styling is what makes it feel like yours.

Use the open shelving or upper cabinets for the things you reach for most:
  • Everyday glassware in two or three sizes.
  • A few nicer pieces for wine and cocktails.
  • The tools to make your signature cocktails: a shaker, a jigger, a strainer, a bar spoon, and a good cutting board for citrus.
Group glassware by type so guests can find what they need without asking.

Beyond that, a bowl of lemons and limes, a few bottles worth displaying, a small stack of cocktail napkins. Leave a stretch of counter clear as a landing zone for setting down glasses and building drinks.

Finally, stock it for everyone. Sparkling water, good tonic, and a nonalcoholic option or two. Make the station useful every day of the week, not just when there's a party.

Frequently Asked Questions

How much space do I need for a home beverage station?

A complete station can fit in about six to seven feet of wall. A 24-inch beverage fridge, a 15-inch ice maker, and a 24-inch wine cooler fill 63 inches, leaving room for a small sink cabinet. Smaller stations can start with a single beverage fridge and grow from there.

What's the difference between a beverage fridge and a wine cooler?

A beverage fridge runs colder and is built to hold cans and bottles at drinking temperature. A wine cooler holds a warmer, steadier range suited to storing and serving wine. Dual-zone models keep reds and whites at different temperatures at once.

Does an undercounter ice maker need a drain?

Yes. Ice makers produce meltwater that has to drain somewhere. If there's no floor drain at the installation site, a model with a built-in drain pump can route water to a standard drain line.
Can a beverage station go outside?
Yes, with the right appliances. ZLINE's Touchstone line is designed with outdoor-compatible cooling systems, so a station can work on a covered patio or in an outdoor kitchen as well as indoors.

Explore the Touchstone collection