lifestyle

Spring Cleaning Your Range Hood: 
A Step-by-Step Guide

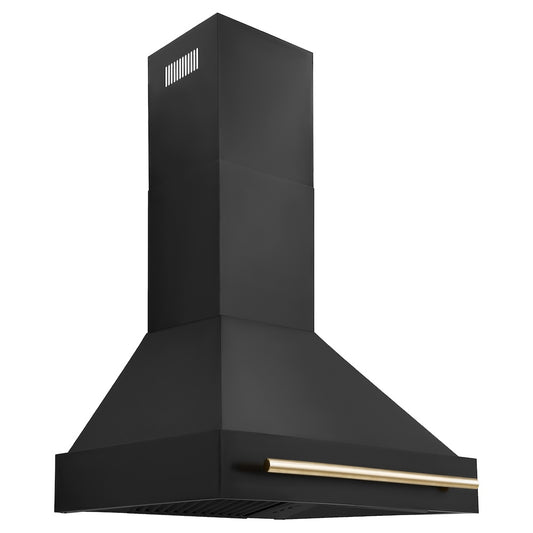
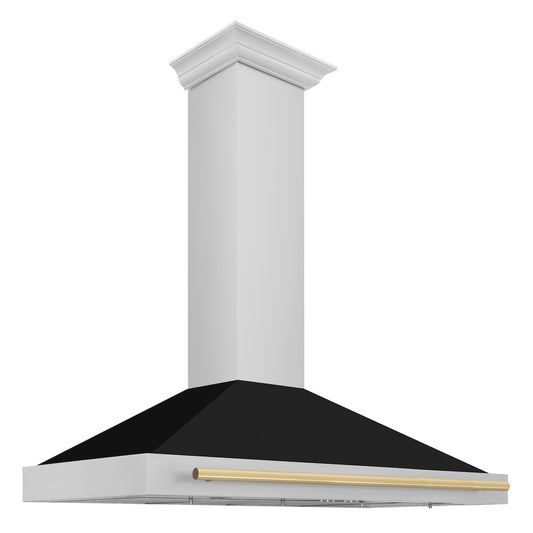
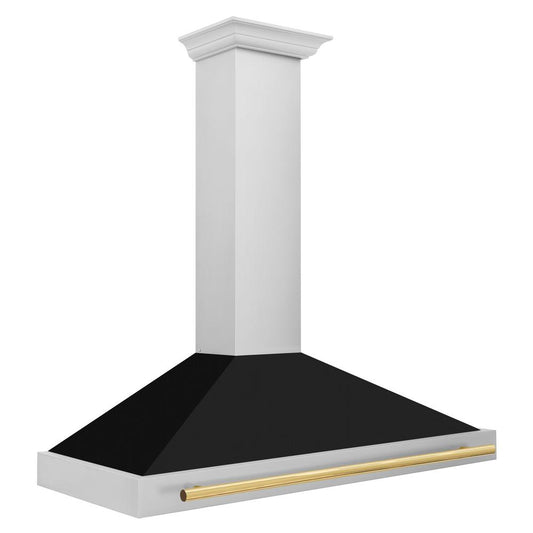
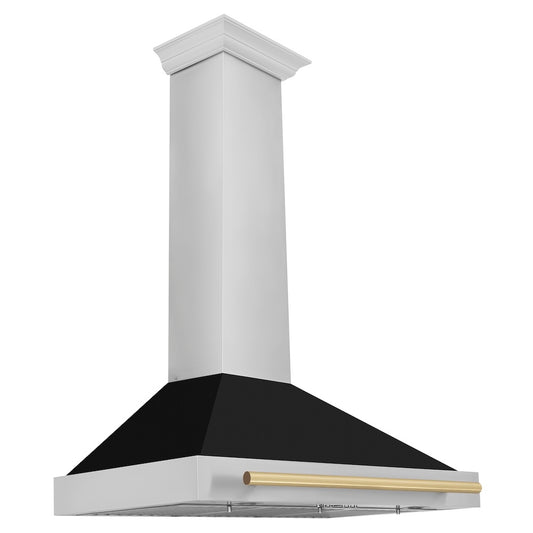
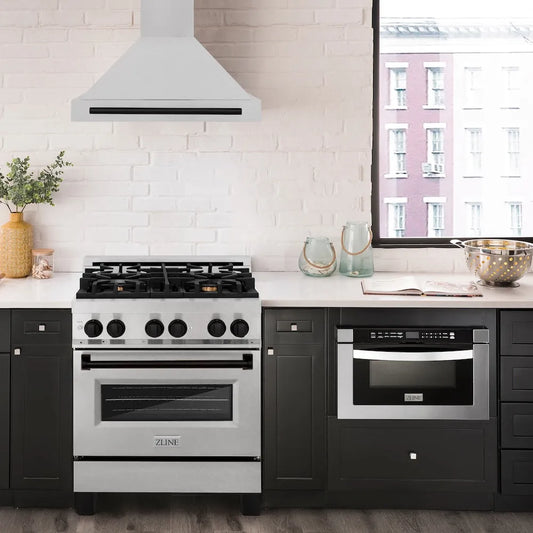
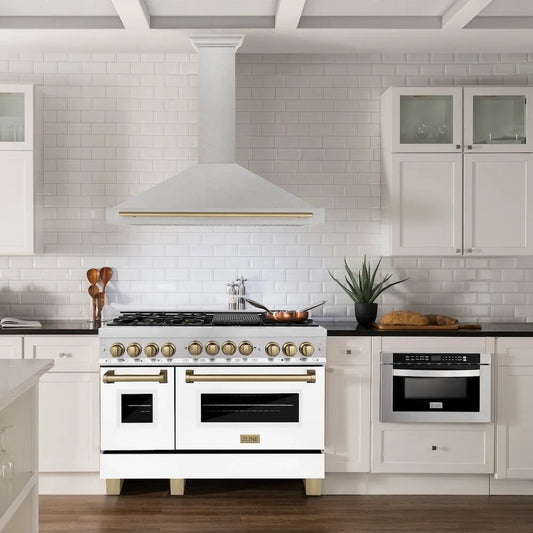
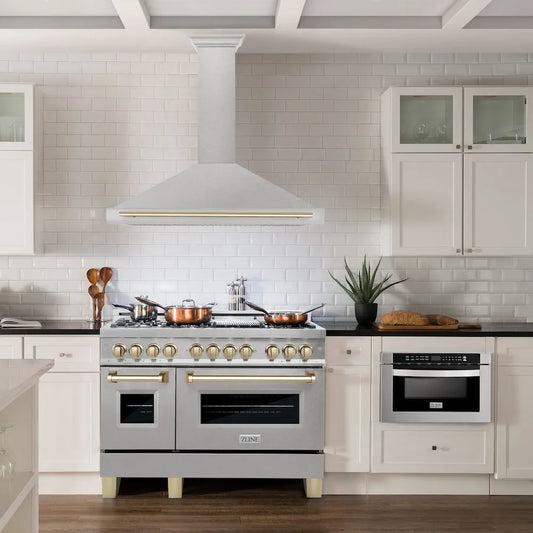
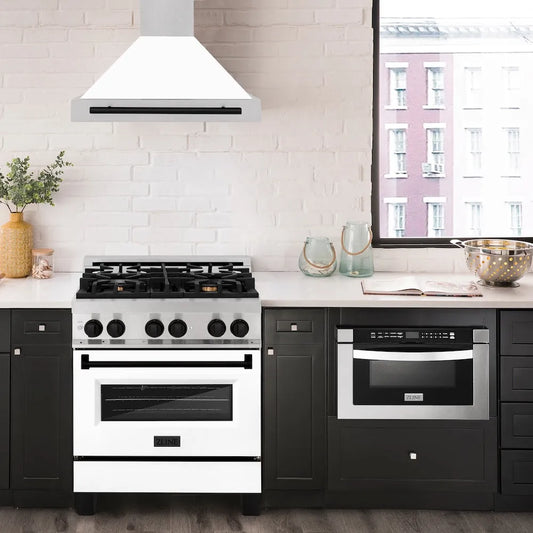
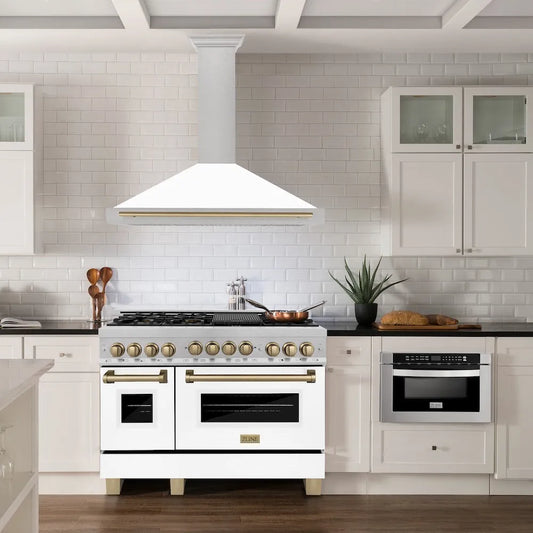
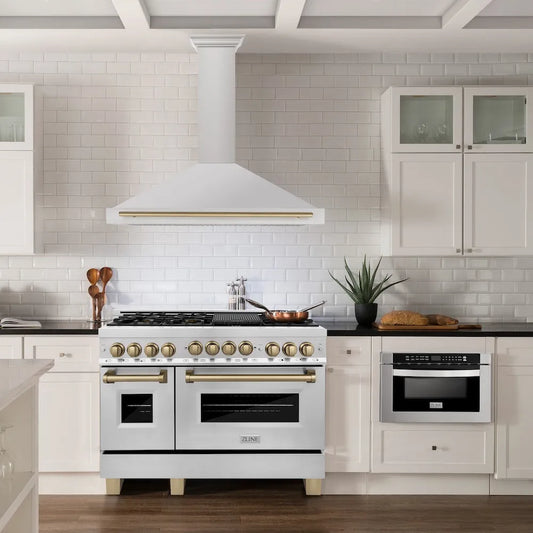
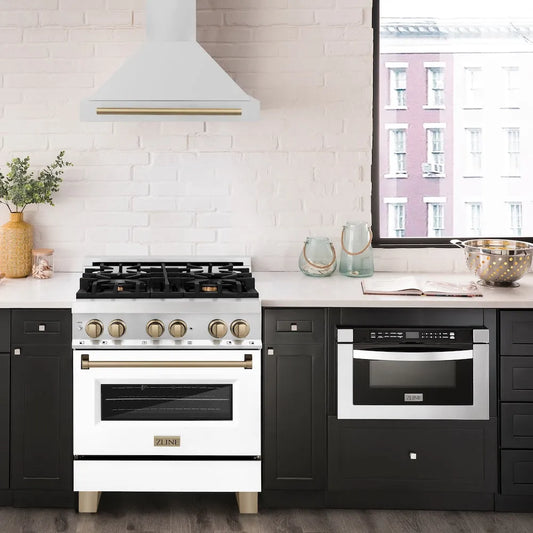
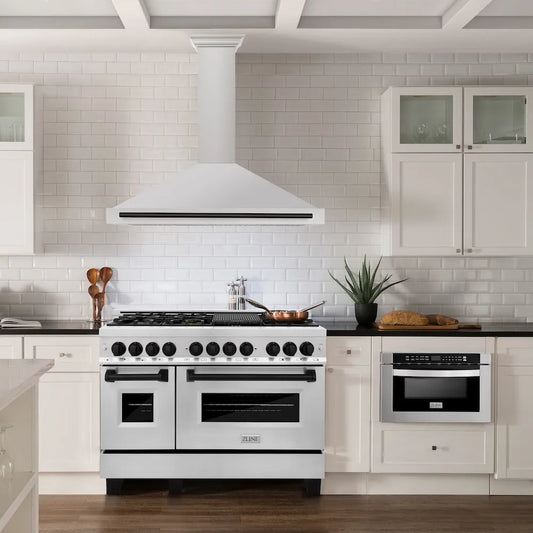
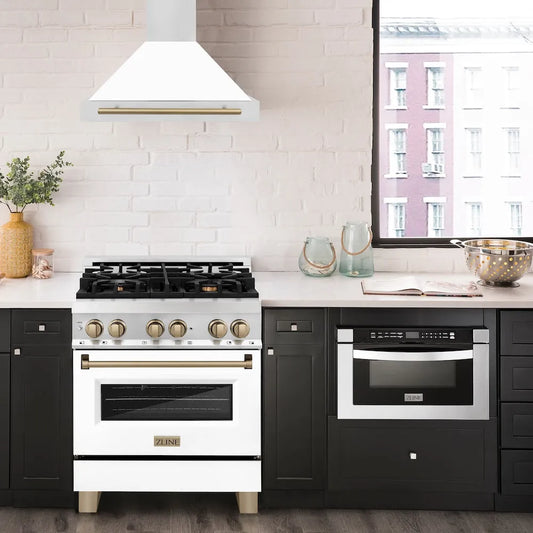
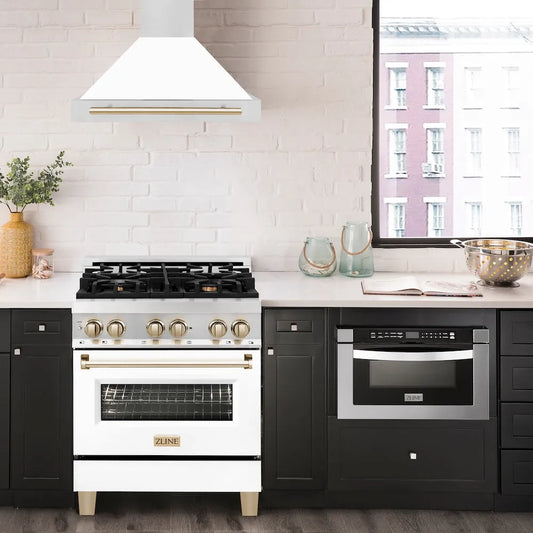
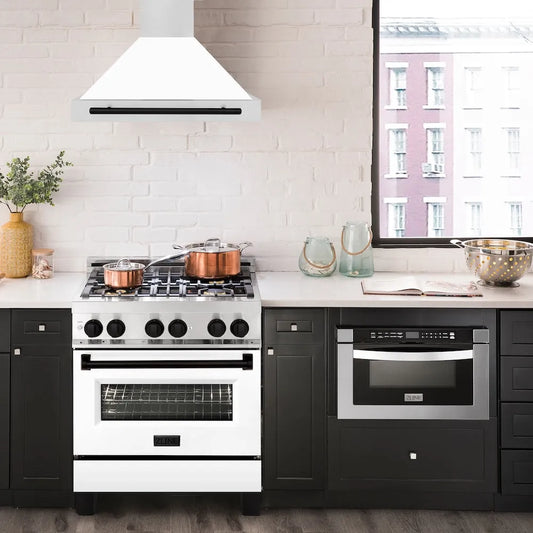
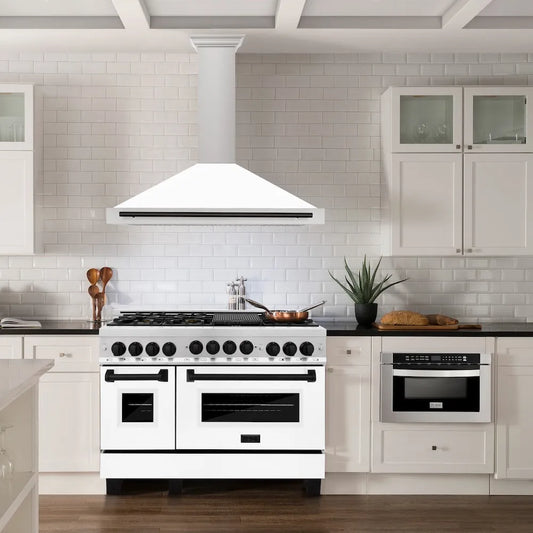
A truly well-kept kitchen goes beyond the visible surfaces. It extends to every appliance, every vent, every hidden corner—including the hood that resides above your range. This spring, take the extra time to give your range hood some love.

Neglecting your range hood means more than just a grimy appearance. Built-up grease inside the ductwork is a genuine fire hazard, reduced suction means your kitchen fills with lingering odors, and clogged filters make the motor work harder and wear out faster. A thorough annual cleaning addresses all of this at once.

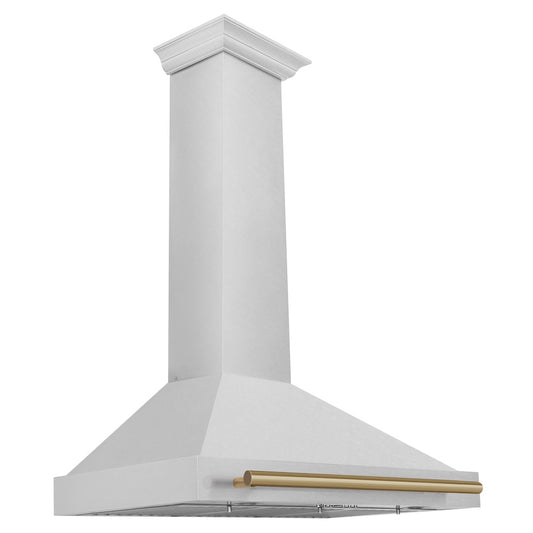
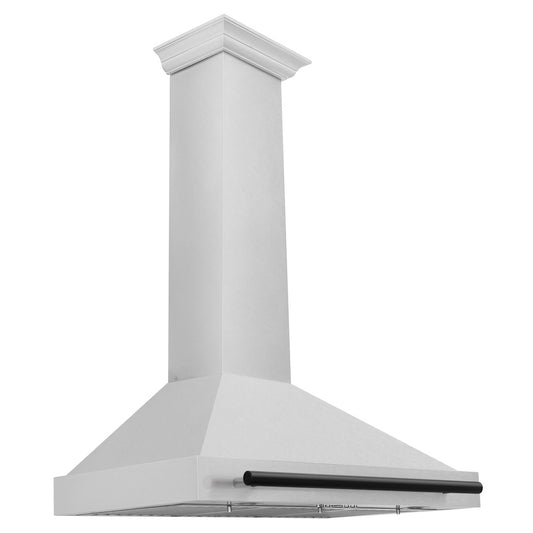
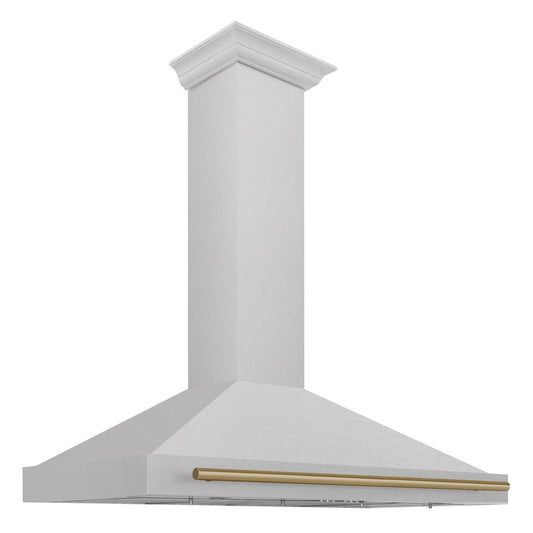
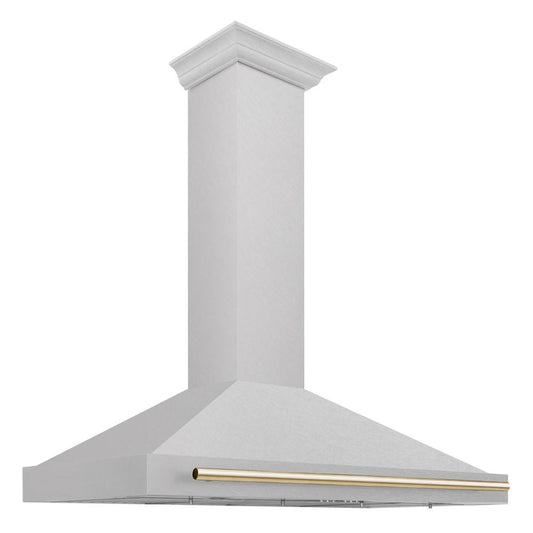
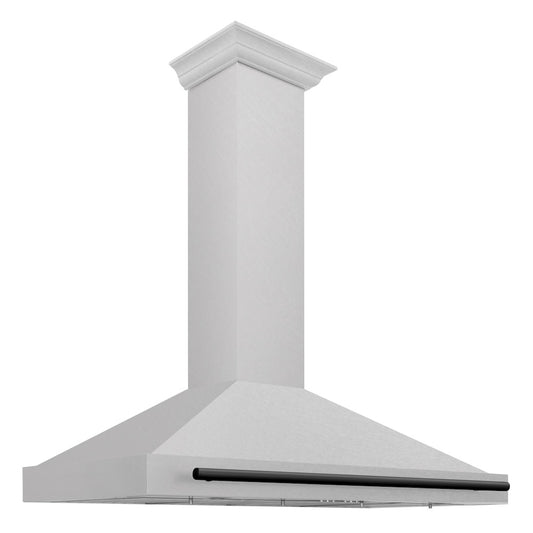
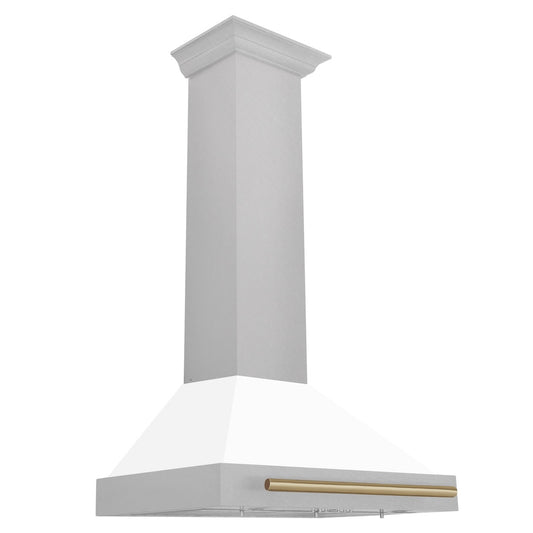
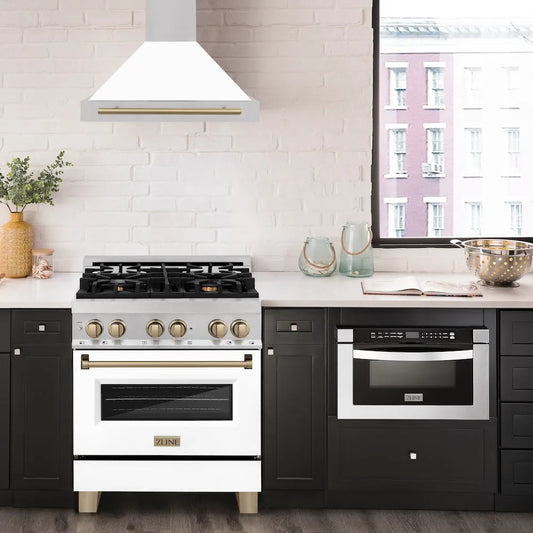
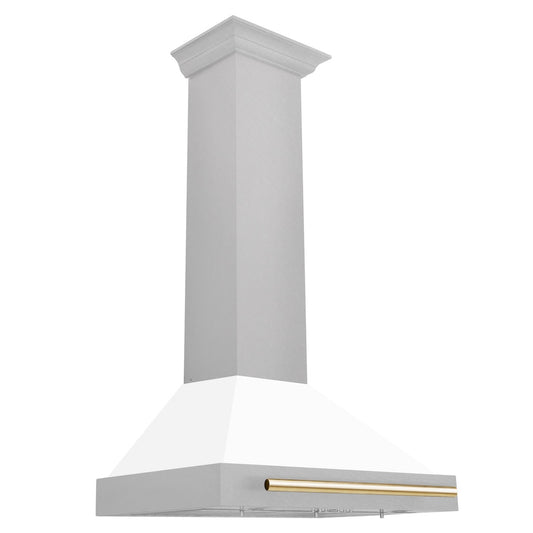
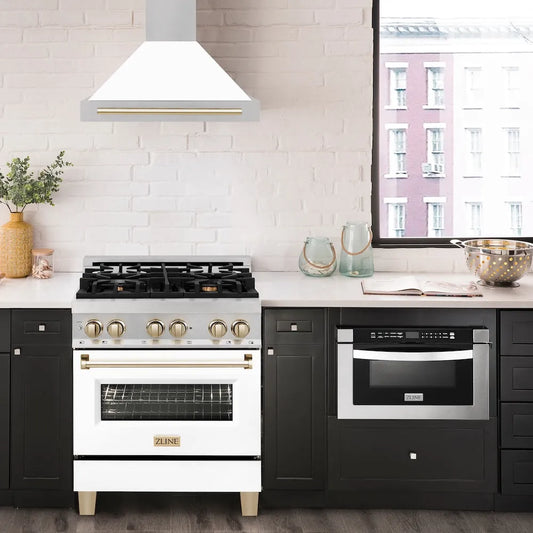
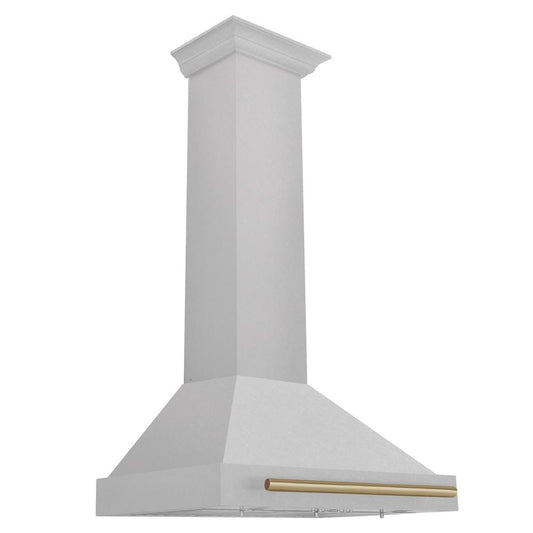
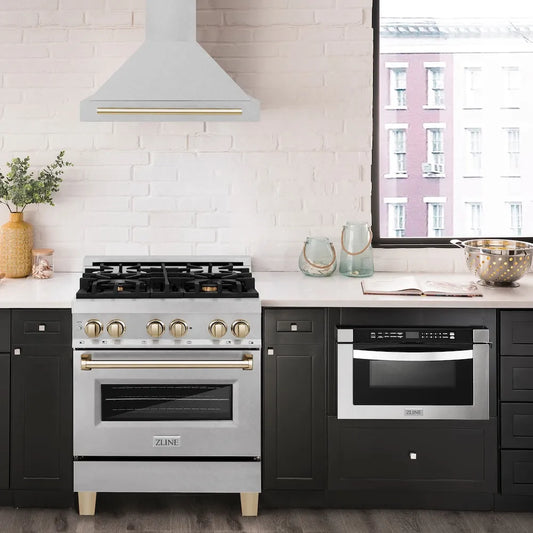
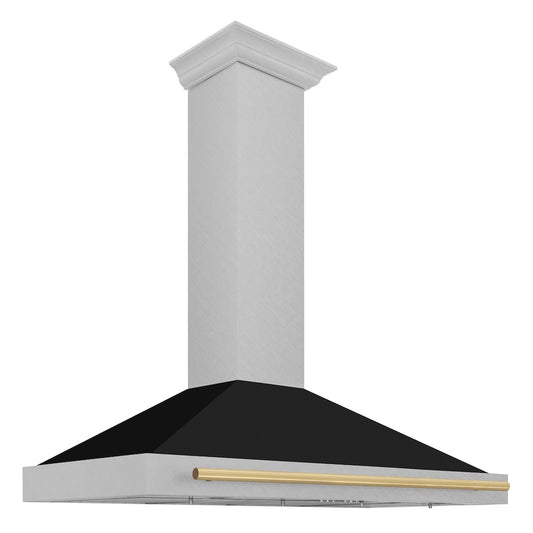
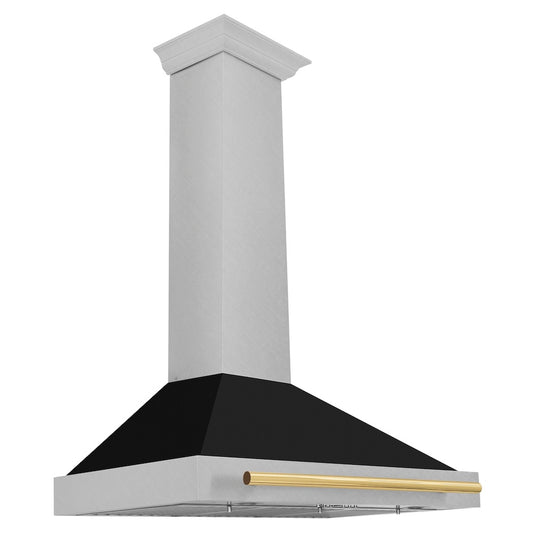
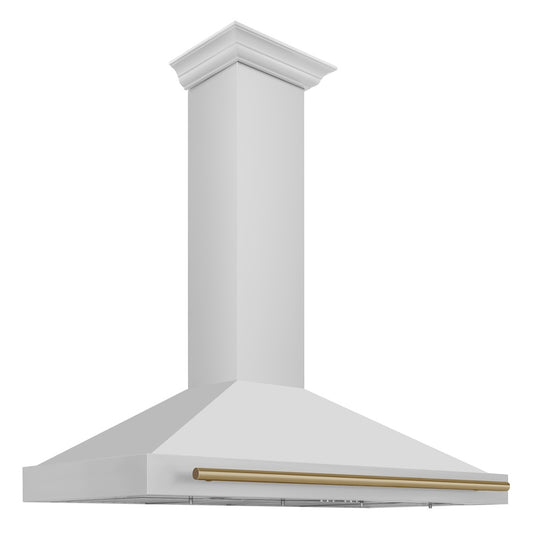
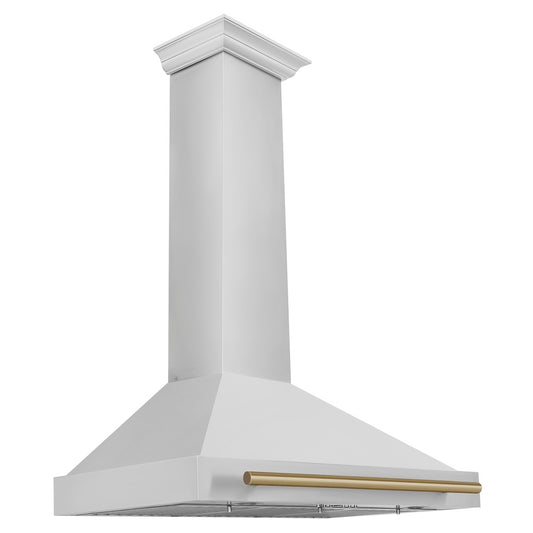
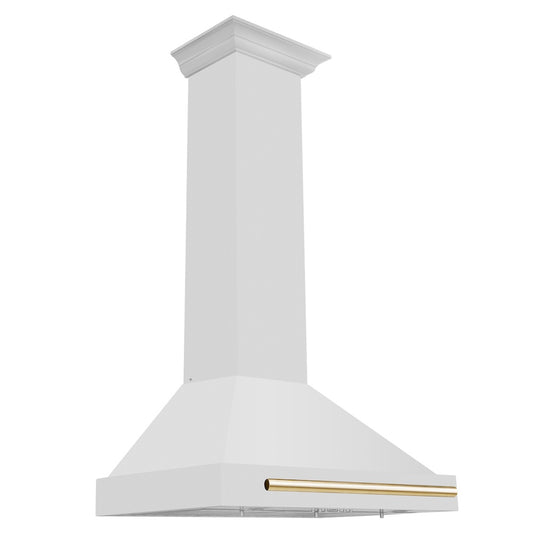
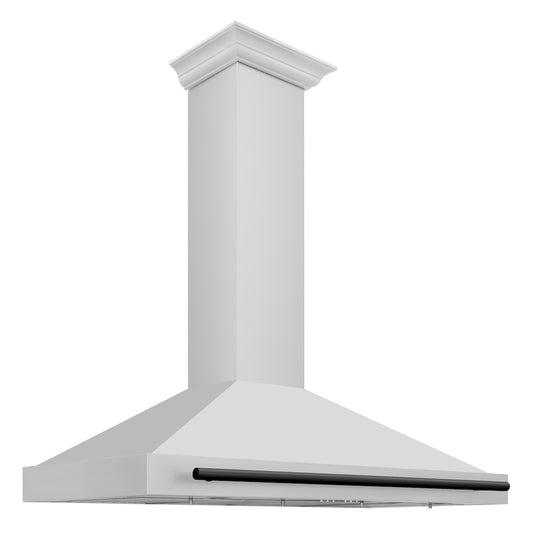
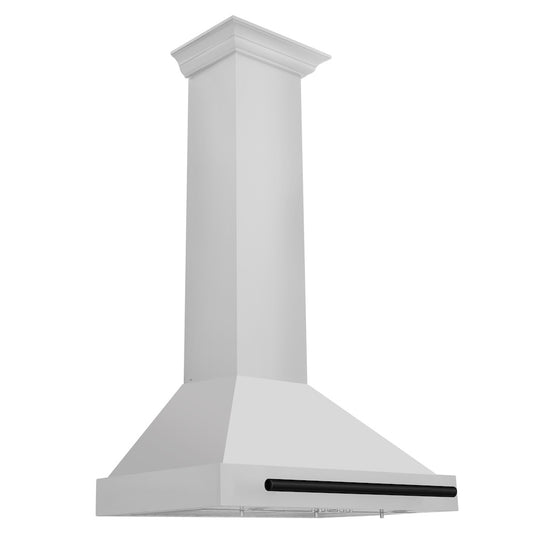
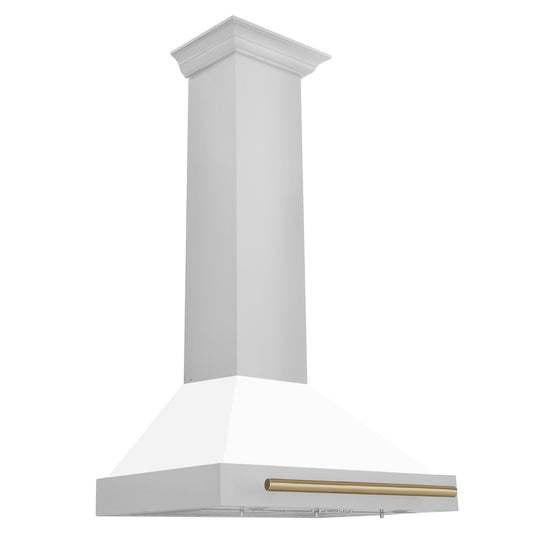
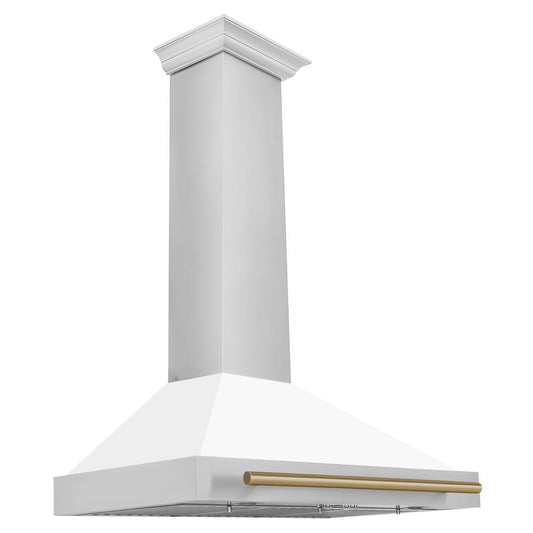
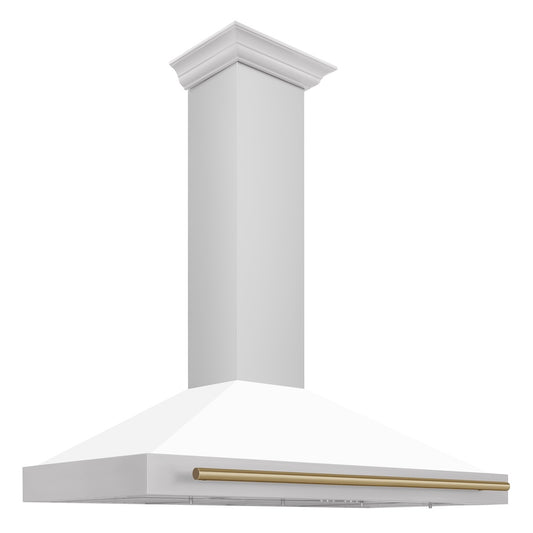
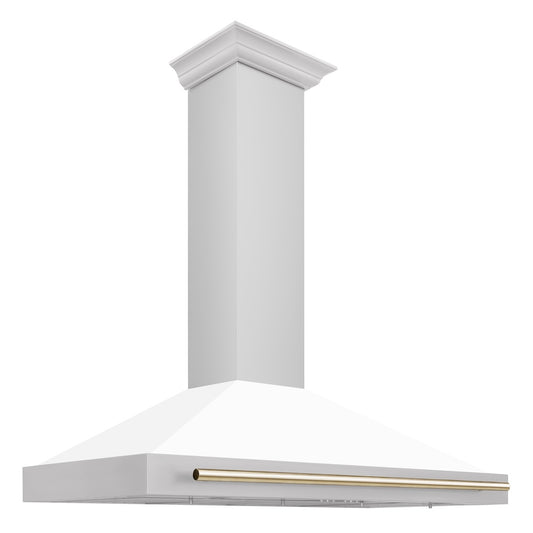
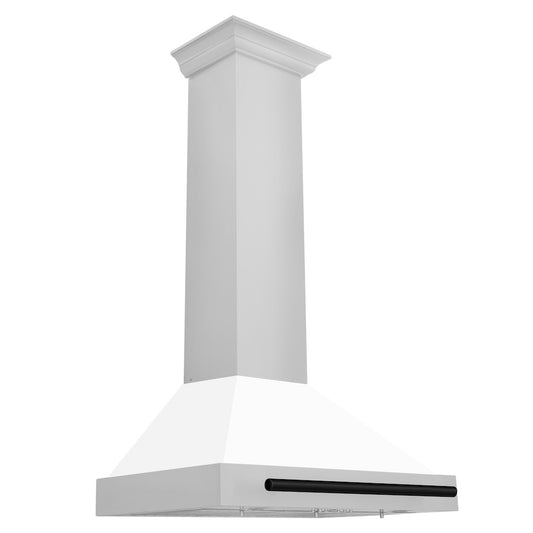
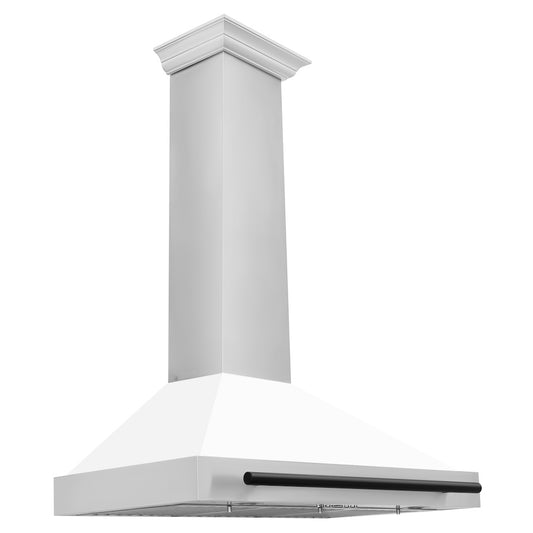
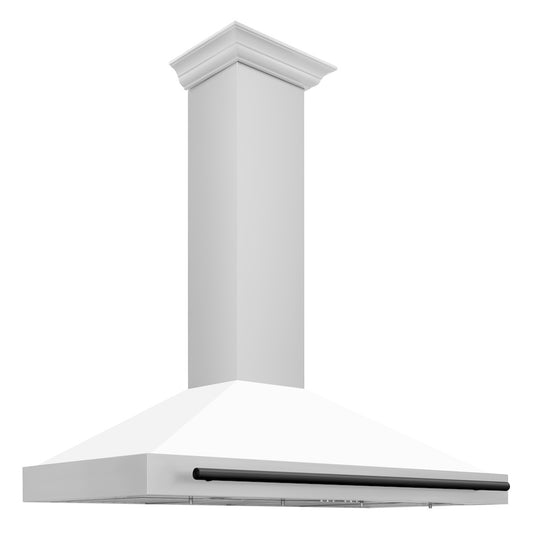
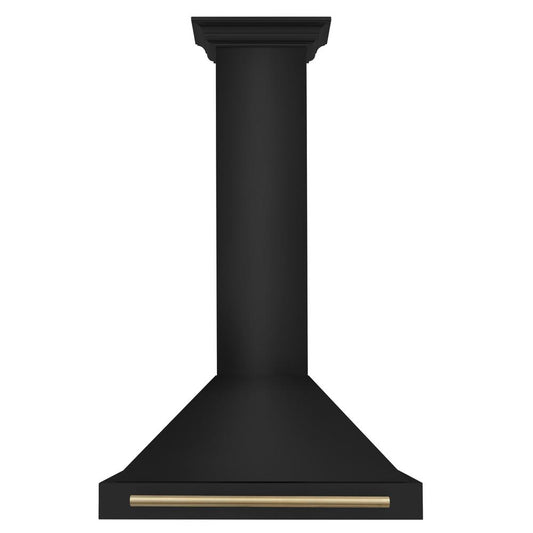
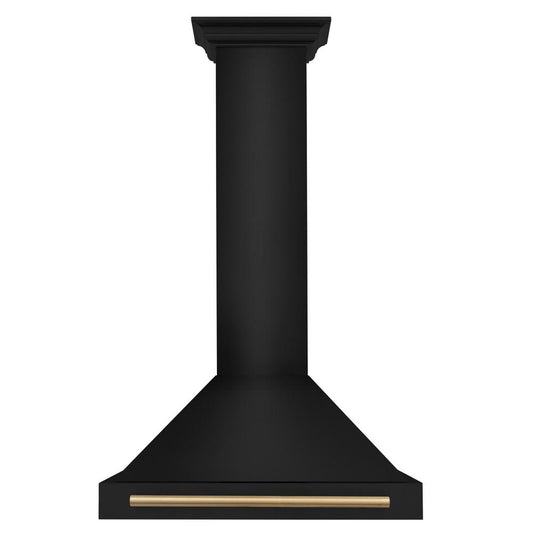
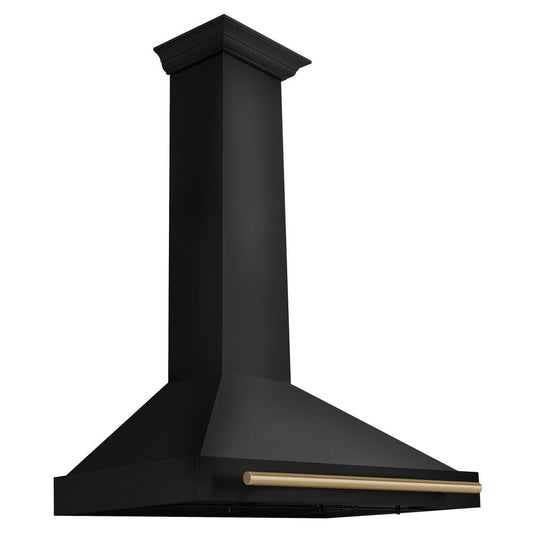
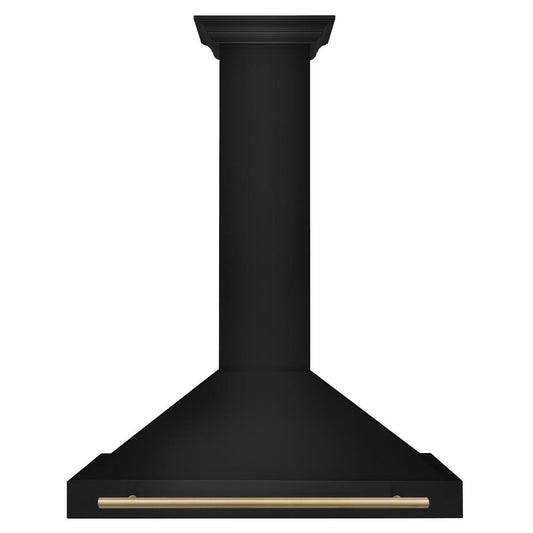
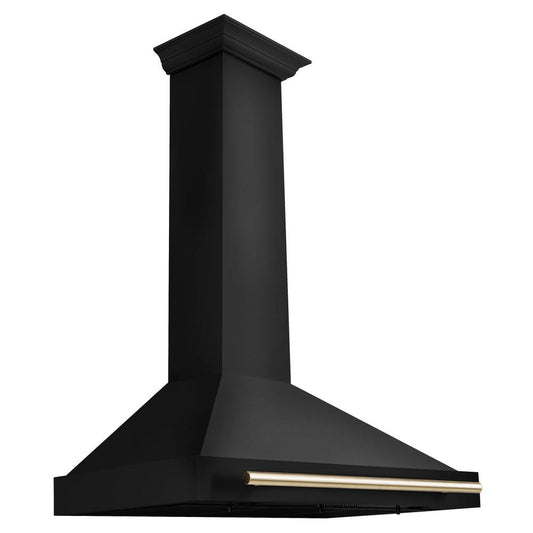
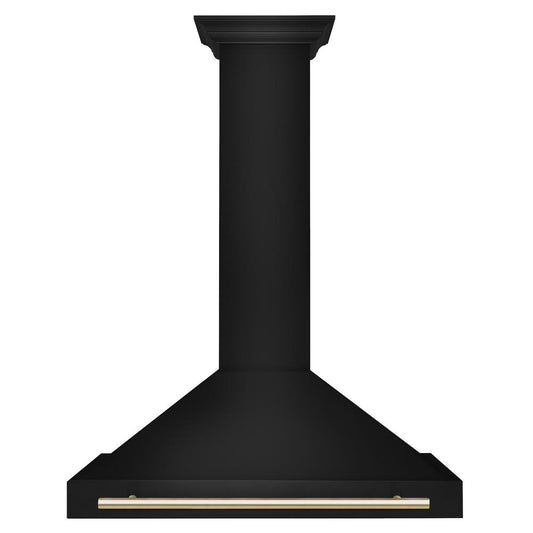
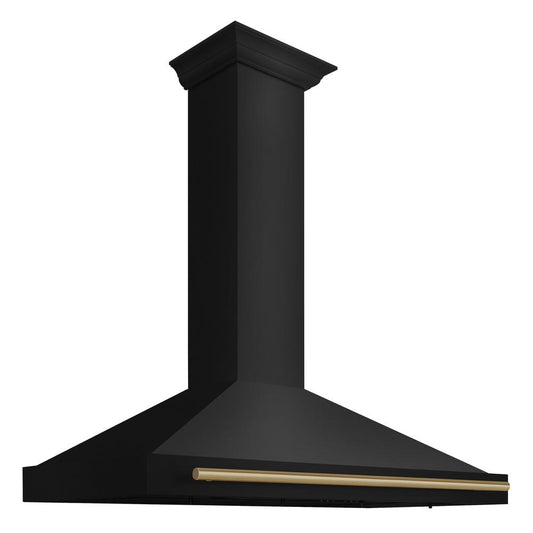
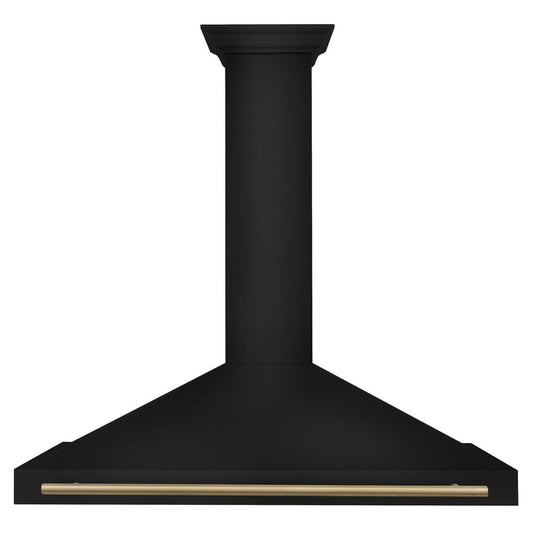
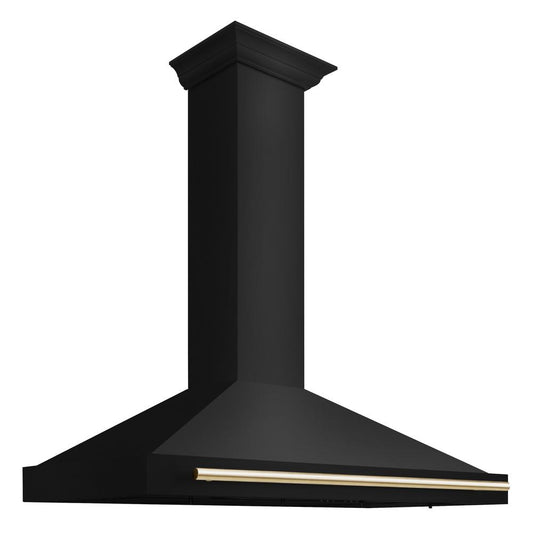
This guide covers everything: the supplies you'll need, safety precautions, and a detailed step-by-step process that applies to most residential hoods, whether you have a wall or island mount, an under-cabinet unit, or an insert.
A ZLINE stainless steel under-cabinet range hood installed above a gas range in a cream kitchen with marble backsplash, surrounded by styled countertops with cookware, wooden cutting boards, and pantry jars.

What You'll Need

Gather these before you begin. There's nothing worse than pausing mid-clean with greasy hands to hunt for supplies.
  • Dish soap/degreaser

  • Baking soda

  • White vinegar

  • Boiling water

  • Soft microfiber cloths

  • Non-scratch scrub pad

  • Old toothbrush

  • Rubber gloves

  • Large dish or sink

  • Stainless steel polish

  • Stepladder

  • Newspaper/drop cloth

A note on degreasers

Avoid harsh chemical solvents or abrasive cleaners on stainless steel; they can leave permanent scratching or streaking. A simple solution of dish soap, warm water, and a splash of white vinegar is remarkably effective and far gentler on finished surfaces.

Before You Begin: Safety First

Turn off the range hood at the switch, and then—importantly—cut power to it at the circuit breaker. This eliminates any risk of the fan turning on unexpectedly while your hands are near the blades. Lay a newspaper or a drop cloth over your stovetop and counters to catch drips.

The Step-by-Step Process

01

Remove and soak the grease filters

The filters are the workhorses of your hood. They capture airborne grease before it enters the blower. Most residential hoods use aluminum mesh or stainless steel baffle filters, both of which are fully removable. Slide or unclip the filters carefully.

Fill your sink or a large baking dish with the hottest water your tap can provide and add a generous squeeze of dish soap and two tablespoons of baking soda. Submerge the filters and let them soak for at least 20–30 minutes. For especially caked-on buildup, bring a large pot of water to a boil and pour it carefully over the filters. The heat alone will release a remarkable amount of grease.

Dishwasher method:

If your hood uses aluminum mesh or steel baffle filters, there's a good chance they're dishwasher-safe, and it's one of the easiest shortcuts in kitchen maintenance. Run them on the hottest cycle with a good dishwasher tablet and let the machine do the work. 
ZLINE range hood filters, for example, are dishwasher-safe, which makes this step genuinely effortless if you're already running a load. That said, always check your manual first to confirm your specific model is compatible before tossing them in. Just never put charcoal (recirculating) filters in the dishwasher; those must be replaced entirely, not cleaned.

02

Clean the interior hood cavity

With the filters removed, you now have access to the interior of the hood. The cavity that channels air toward the blower. This area often harbors a thin layer of grease film that slowly accumulates over time. Dampen a microfiber cloth with your dish soap solution and wipe down every surface inside, working from the top down. An old toothbrush is invaluable for reaching into corners and around the blower housing.

If the interior surfaces have significant, sticky buildup, spray with a kitchen degreaser, let it dwell for five minutes, then wipe clean. Avoid getting moisture near any electrical components or wiring.
Close-up detail of a ZLINE range hood's stainless steel baffle filters and recessed lighting, shot from below against a white marble wall.

03

Empty and wash the grease cup (ZLINE Range Hoods)

One of the more thoughtful details on ZLINE Range Hoods is the inclusion of a removable plastic grease cup, tucked at the bottom of the motor to catch any excess grease that makes it past the filters. It's a small component that quietly does an important job.

To access it, simply remove your baffle filters as described in Step 1. With the filters out, you'll spot the grease cup seated in a pair of brackets at the base of the motor. Slide it out gently, as it may contain pooled grease depending on how long it's been since the last clean.

Dispose of the contents (do not empty into your sink), then wash the cup in warm soapy water. A soft brush or cloth works well to remove any residue clinging to the sides. Rinse it thoroughly, allow it to dry completely, and slide it back into its brackets before reinstalling the filters. We recommend doing this every 2–3 months, a quick task that takes no more than a few minutes and goes a long way toward keeping your hood's motor clean and protected.
A ZLINE island range hood in stainless steel suspended above a kitchen island with a gas cooktop, in a bright kitchen featuring white cabinetry with gold hardware, marble backsplash, and warm wood accents.
A ZLINE professional-style range and custom wood-trimmed range hood in a bright farmhouse kitchen with shiplap walls, light oak cabinetry, and stone countertops.
A ZLINE range and stainless steel range hood in a refined kitchen with sage green cabinetry, marble backsplash, and warm wood flooring, with a garden view through floor-to-ceiling glass doors.

04

Address the fan blades

The fan blades are the most commonly skipped part of any range hood cleaning, and yet they're where grease accumulates most insidiously. Depending on your hood's design, the blades may be accessible directly through the filter opening, or you may need to unscrew a motor cover panel (consult your manual).

Use a damp cloth with degreaser to wipe each blade individually. Move from the center hub outward, following the blade's shape. Even a modest layer of grease on the blades creates imbalance, noise, and reduced airflow over time. Take care not to bend the blades. Use a clean, dry cloth to remove any excess cleaning solution.

When to call a professional:

If your hood is ducted and you haven't had the ductwork cleaned in several years, this is worth scheduling with a professional duct cleaning service, particularly if you cook frequently or use high heat. Grease accumulation inside ducts is a fire risk that no amount of filter cleaning can offset.

05

Scrub and rinse the filters

Return to your soaking filters. Use a non-scratch scrub pad to gently agitate any remaining residue, working along the mesh lines rather than across them. Rinse thoroughly under hot running water until the water runs completely clear. Set them upright on a clean towel to air dry completely before reinstalling. Installing wet filters can encourage mildew and, in some cases, damage the hood's motor.

06

Polish the exterior

The visible exterior of your hood is, in many kitchens, a genuine design focal point. For stainless steel surfaces, always wipe in the direction of the grain. A microfiber cloth with a small amount of dish soap handles everyday grime beautifully. For water spots and fingerprint smudges, a dedicated stainless steel polish applied with a soft cloth will restore that mirror-like uniformity.

Many owners of ZLINE Range Hoods, for instance, find that a monthly wipe-down with a dry microfiber cloth is enough to keep the stainless steel looking pristine between deeper cleans. The beautiful finishes are forgiving, but they do reward gentle, consistent care over reactive deep-scrubbing.

For painted or powder-coated exteriors, a mild all-purpose cleaner and a soft cloth are all you need. Avoid anything acidic or abrasive.
A ZLINE matte black wall mount range hood and matching black range styled in a warm kitchen with natural oak cabinetry, open shelving, and a slate stone backsplash.

The grain rule:

Wiping against the grain on stainless steel creates microscopic scratches that accumulate, resulting in a dull, hazy appearance over time. When in doubt, look closely at the surface; you'll see a faint, uniform linear texture. Always wipe with the grain.

07

Reinstall everything and test

Once your filters are fully dry, reinstall them along with any panels, covers, or components you removed. Restore power at the breaker. Run the hood on its highest setting for a few minutes—listen for any unusual rattling or vibration, which can indicate a filter that isn't seated correctly, or a blade that may have been bumped during cleaning. The airflow should feel noticeably stronger than before. If your hood has a grease indicator light, reset it per your manual's instructions.

How Often Should You Clean Each Component?

  • Grease filters

    Every 1–3 months. More often for frequent high-heat cooking.
  • Interior cavity

    Every 3–6 months. Don't skip this—it matters more than it looks.
  • Fan blades

    Once or twice a year. Annually is the minimum; biannually for daily use.
  • Exterior surfaces

    Weekly (light wipe) / Monthly (polish). A quick wipe prevents deep buildup.
  • Charcoal filters

    For recirculating units. Every 3–6 months. Replace entirely—these cannot be cleaned.
  • Ductwork

    Done by a professional. Every 2–3 years. More frequently for high-BTU ranges.

A Few Final Thoughts

Spring cleaning is really an act of care for your home, for your appliances, and for yourself. A range hood that breathes freely, looks immaculate, and runs quietly is one of those small but deeply satisfying elements of a well-ordered kitchen. Take the time at least once a year, and your range hood will last for years with reliable and efficient performance.

shop all range hoods

Related Articles